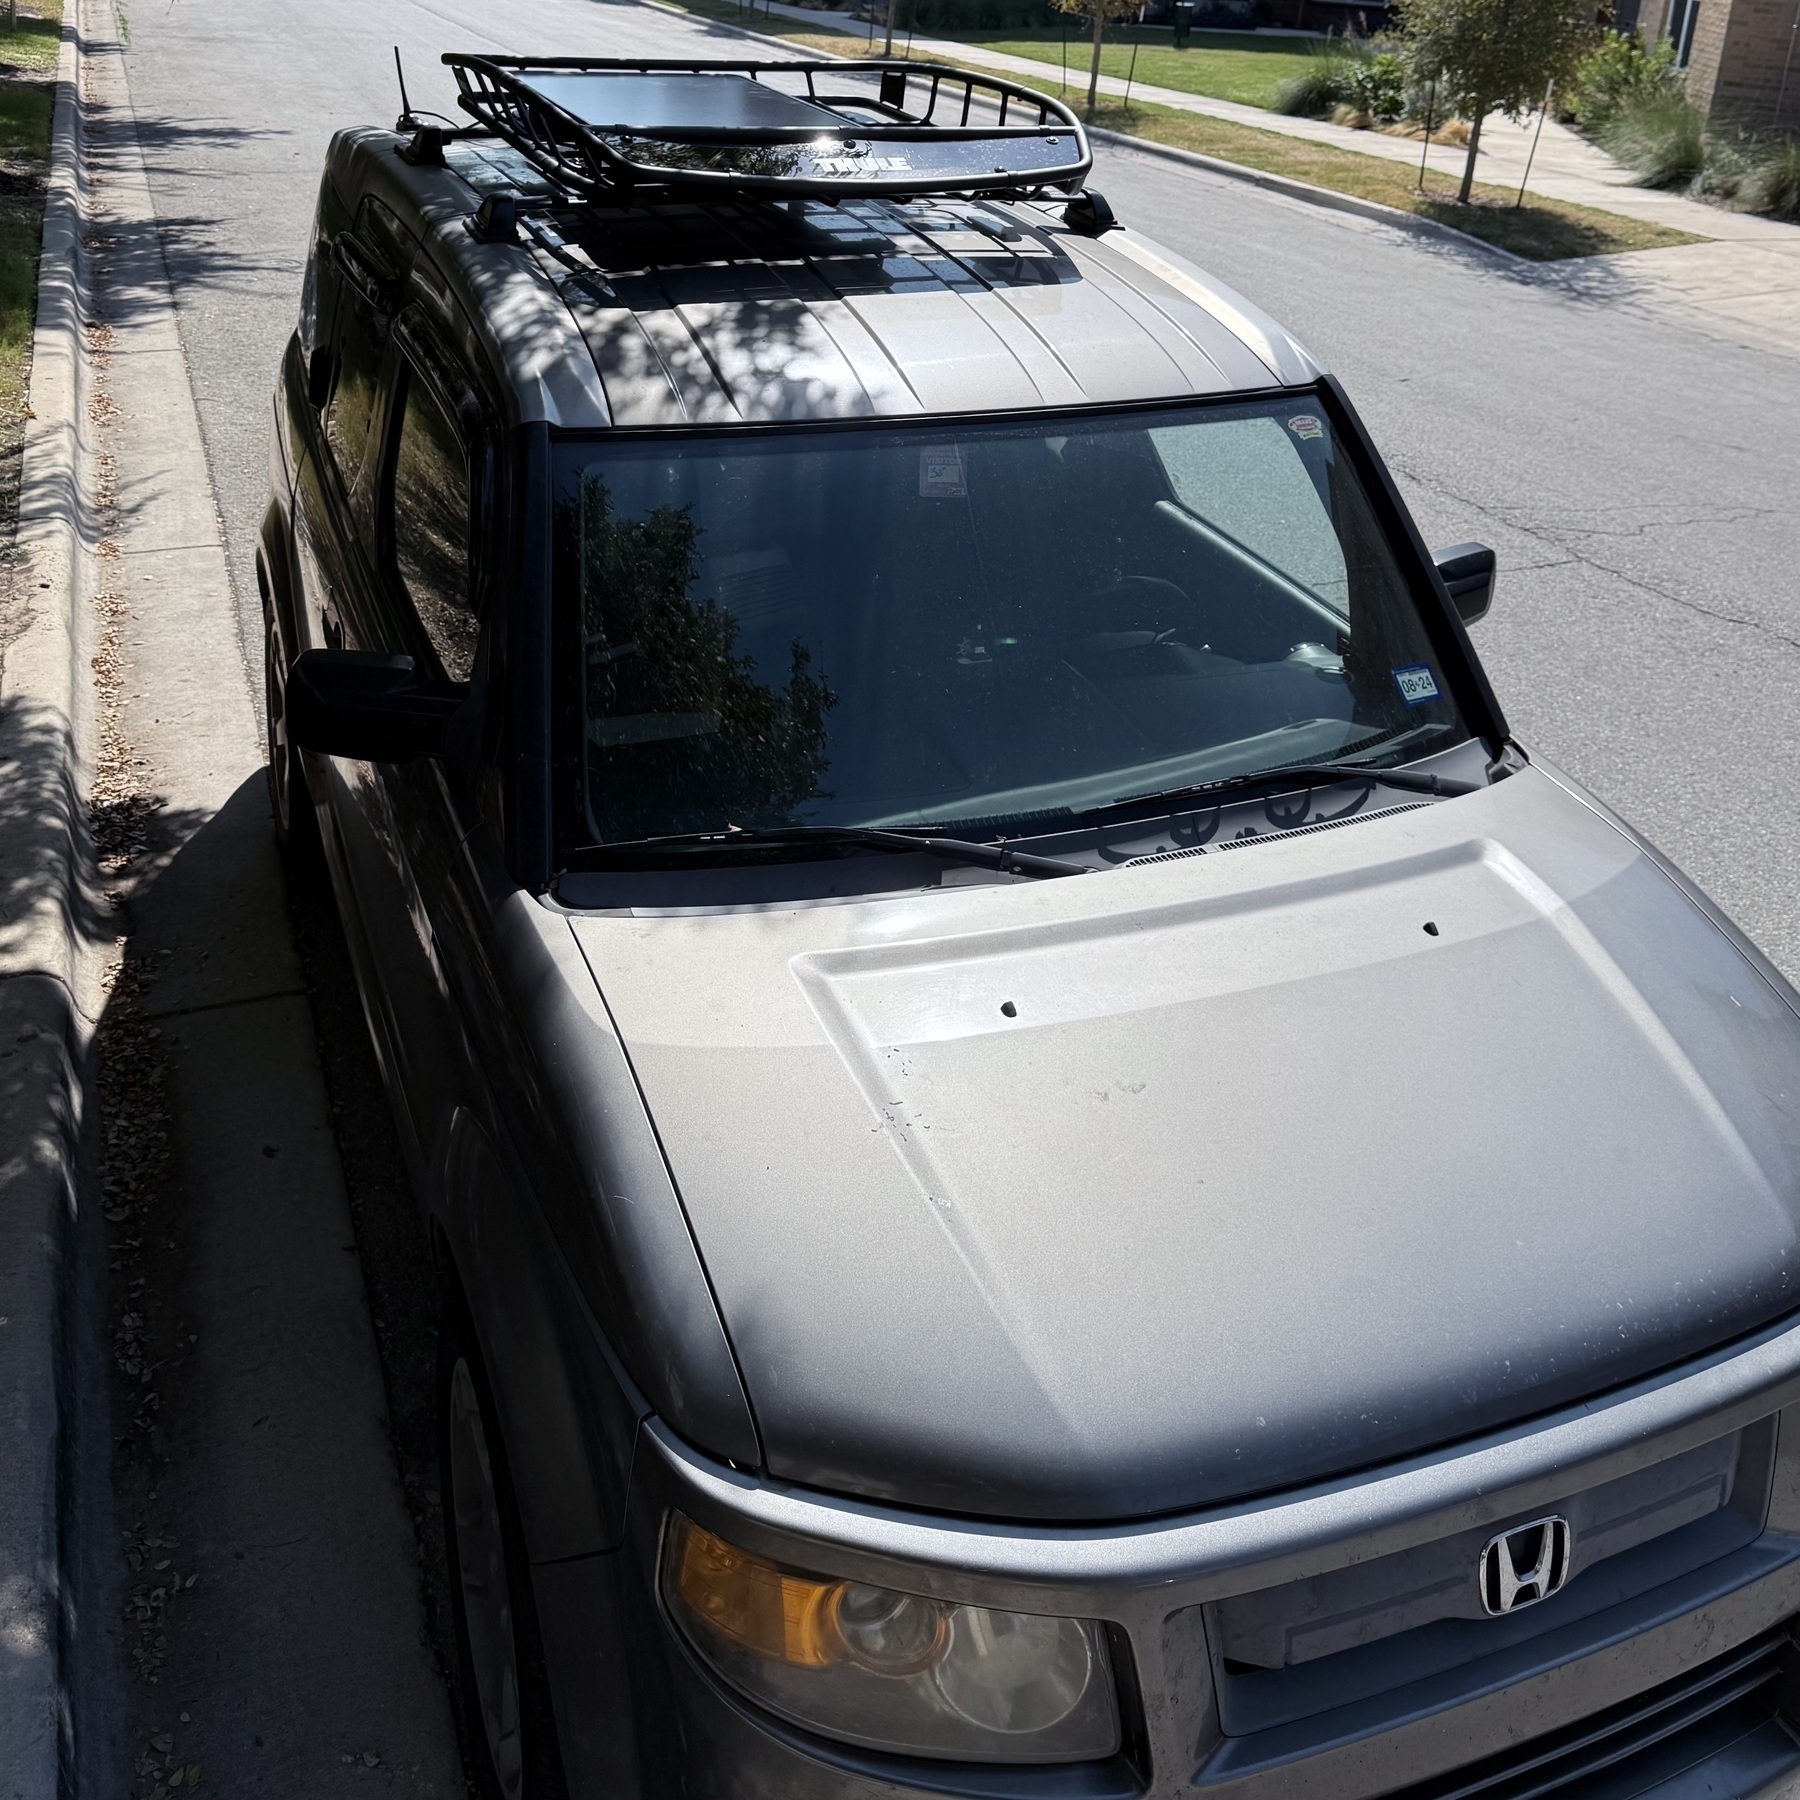
Honda Element: backup camera
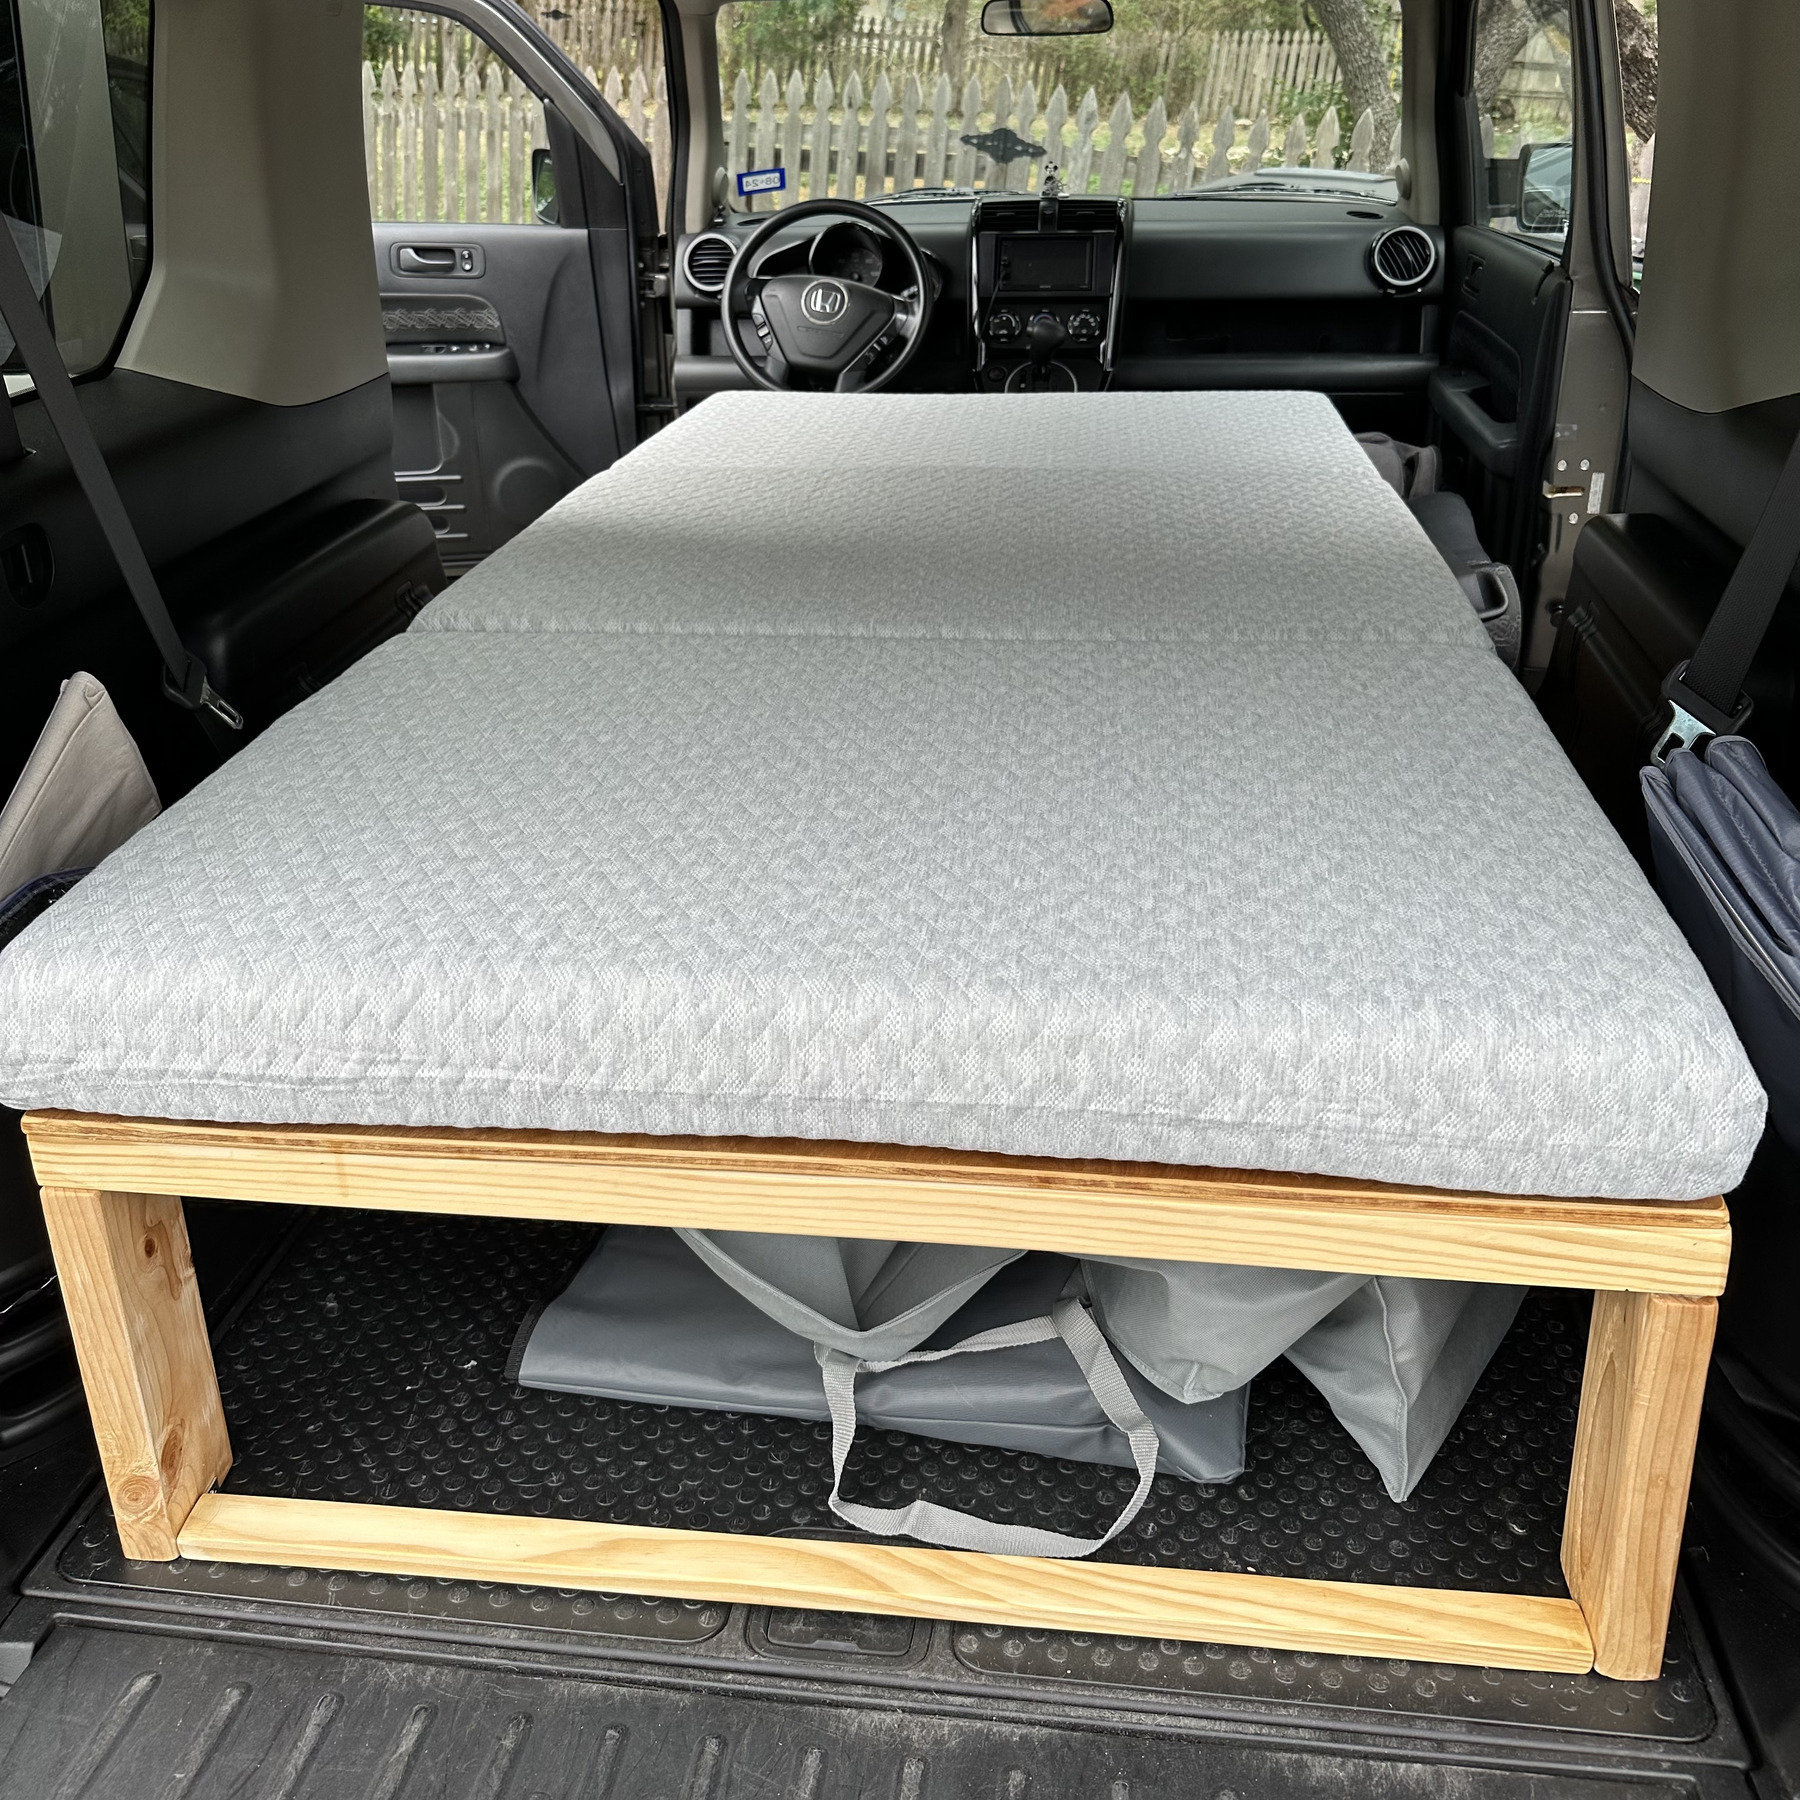
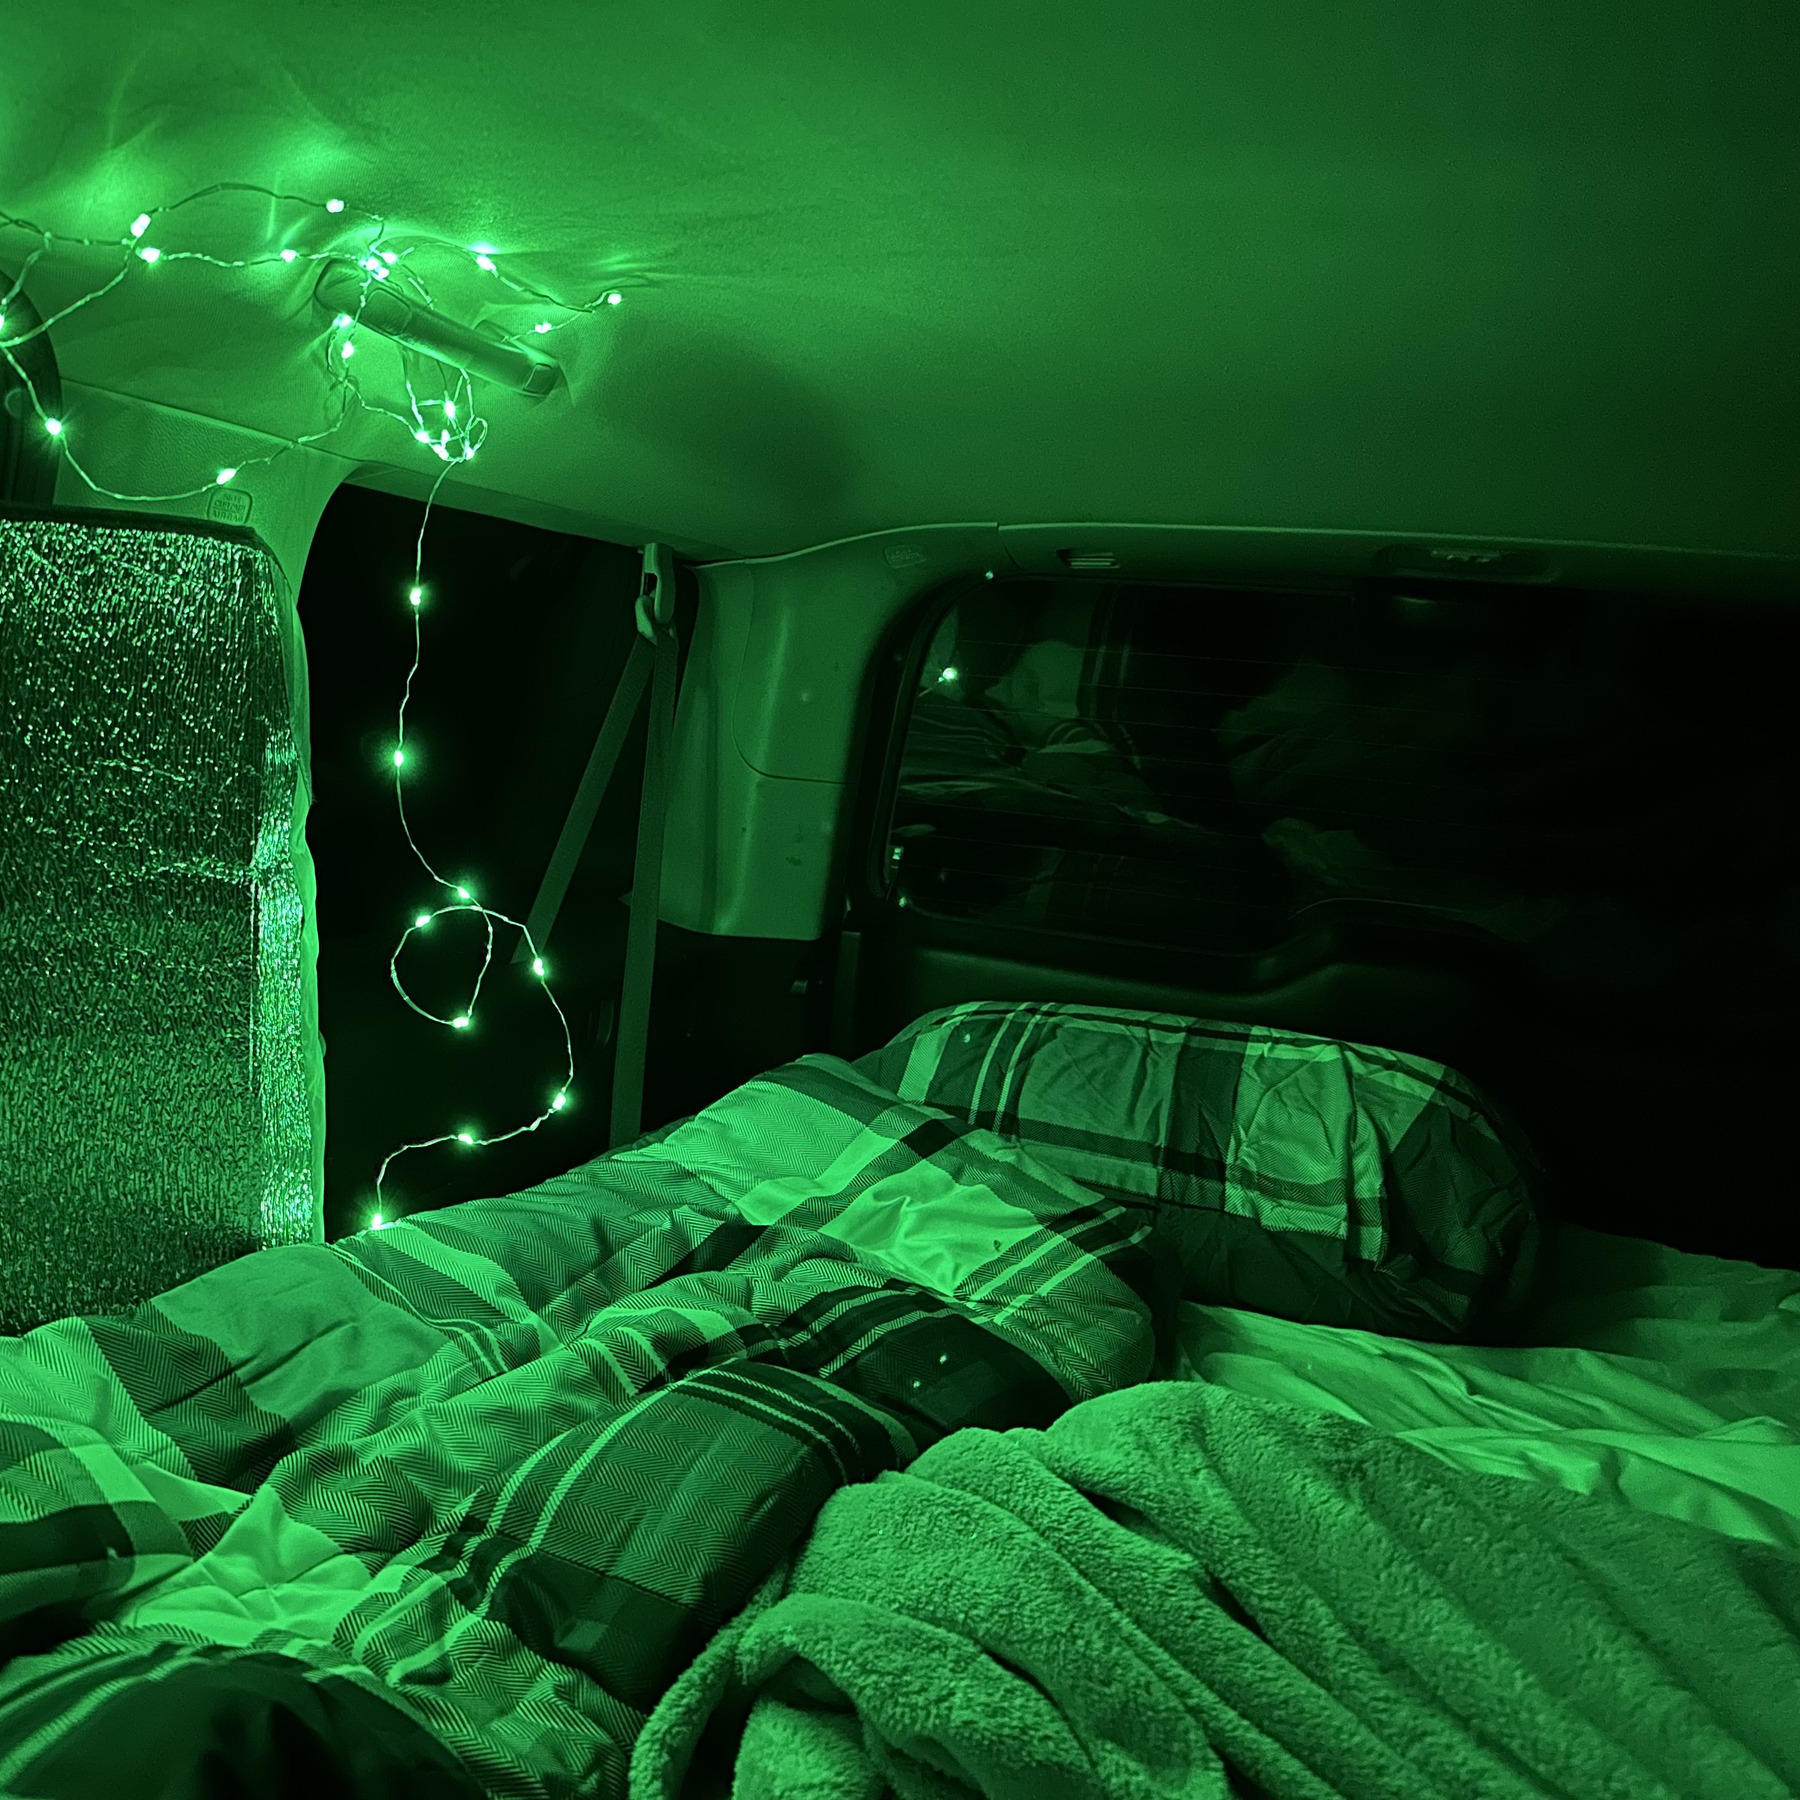
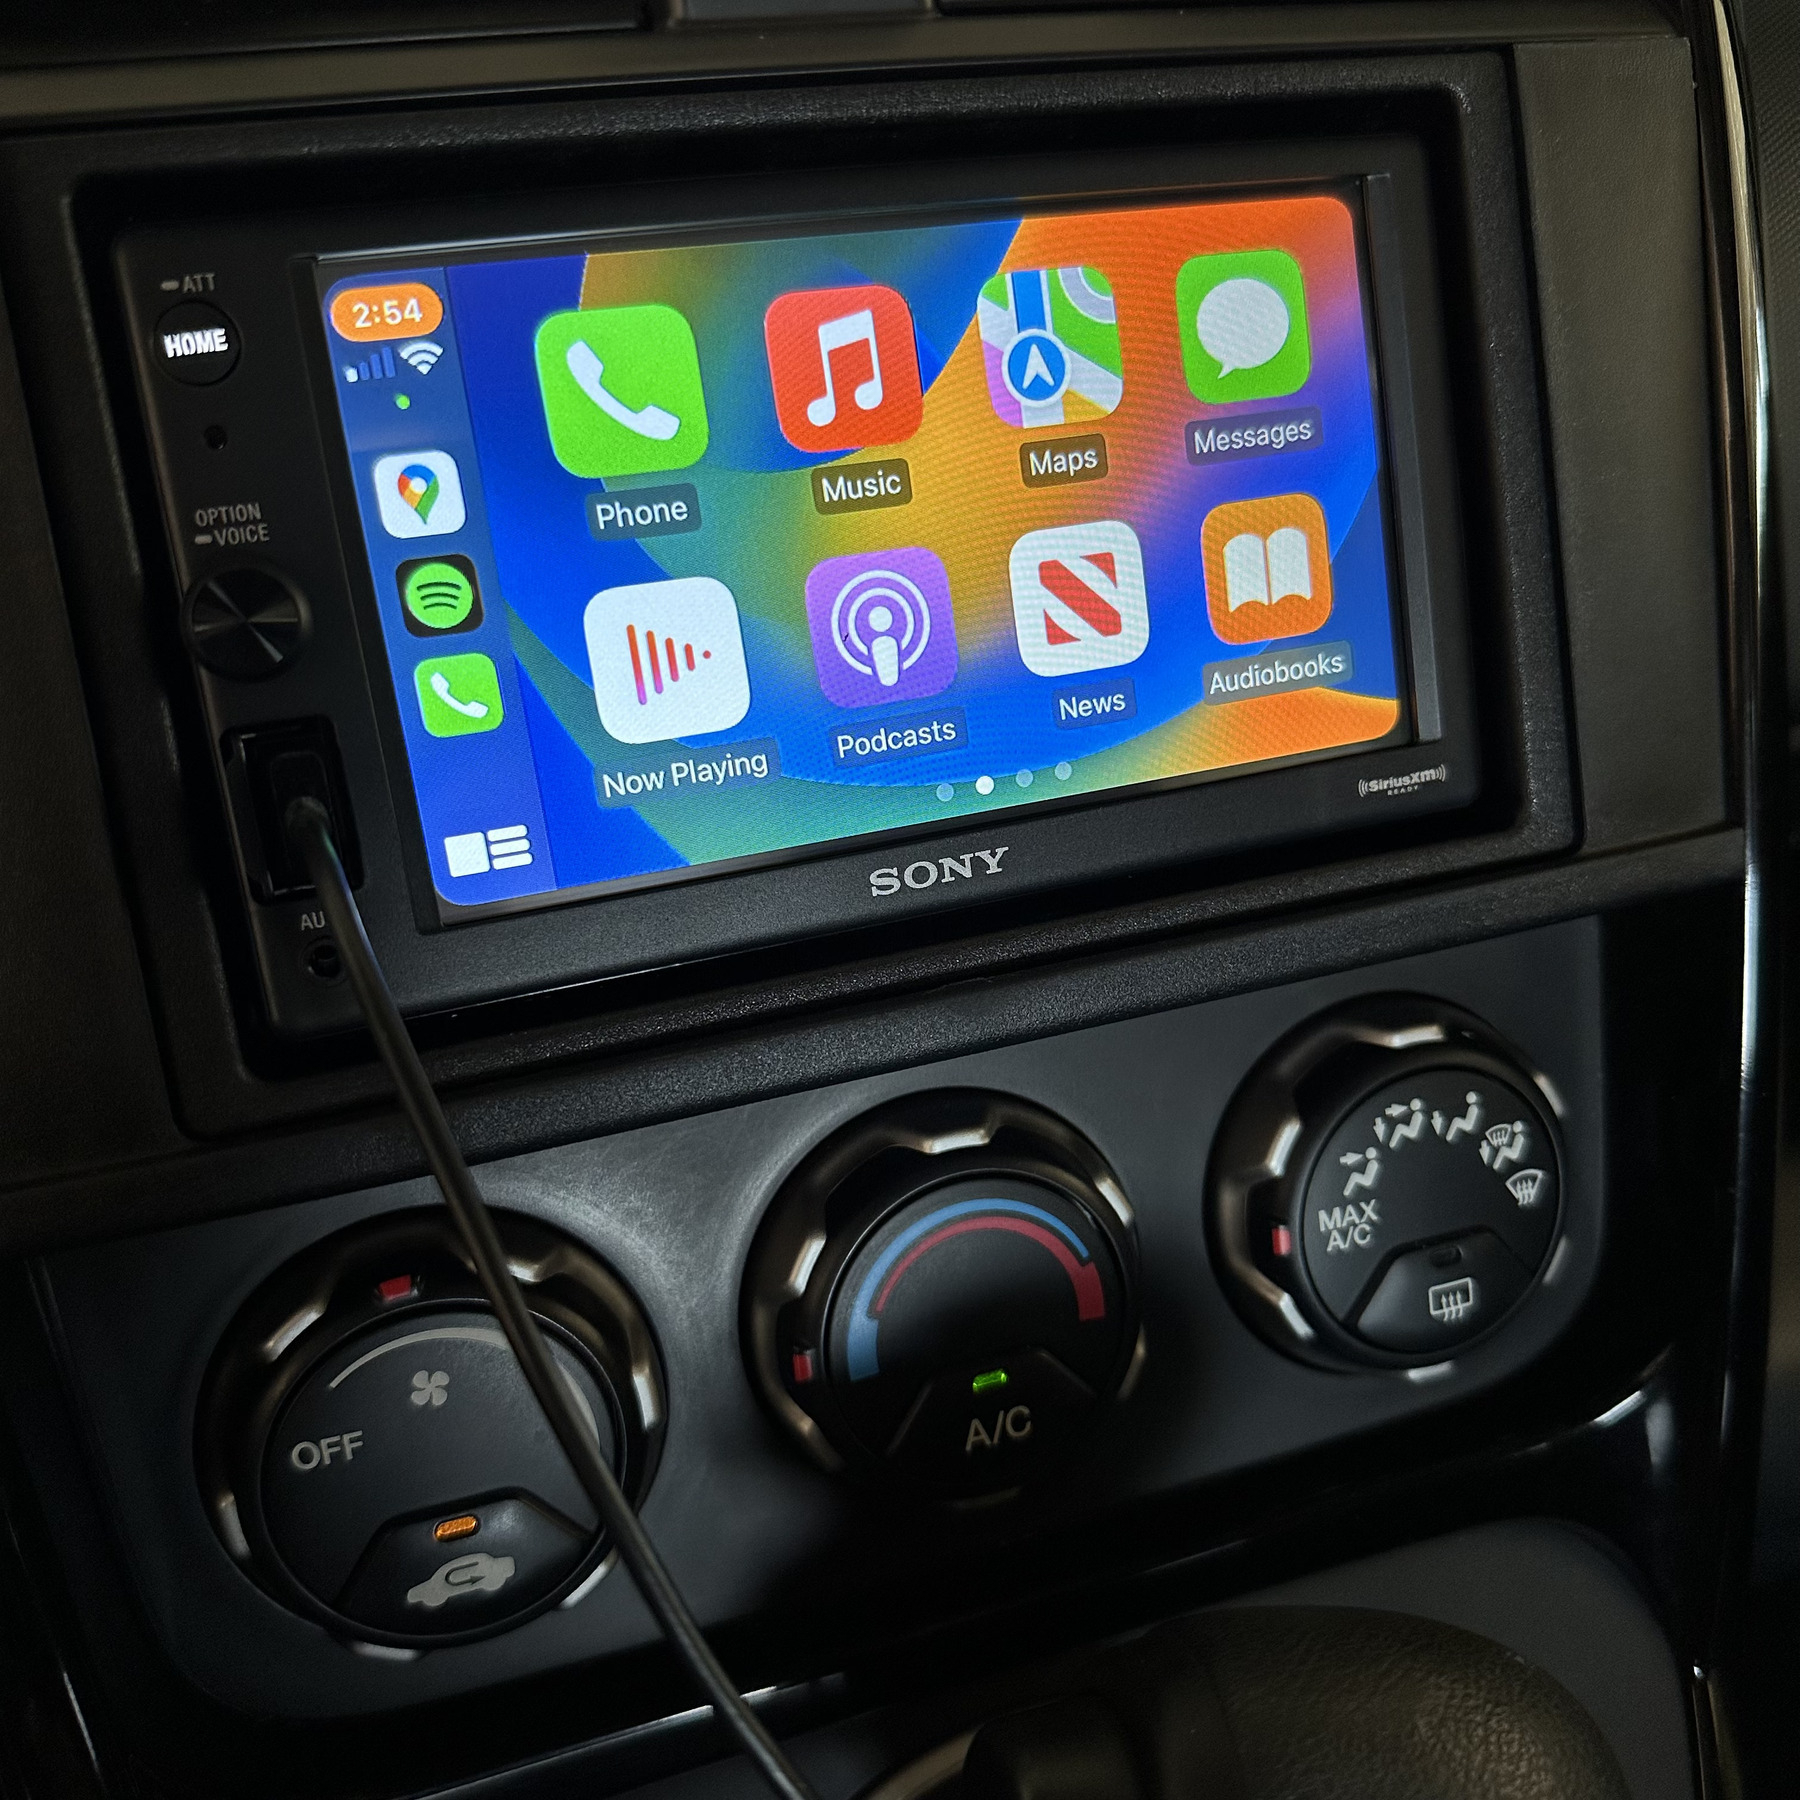
It has been a while since I added anything new to my Honda Element. Some of the previous posts in this series include CarPlay, rooftop solar, weBoost, and a bed platform. I have a category on my blog with everything.
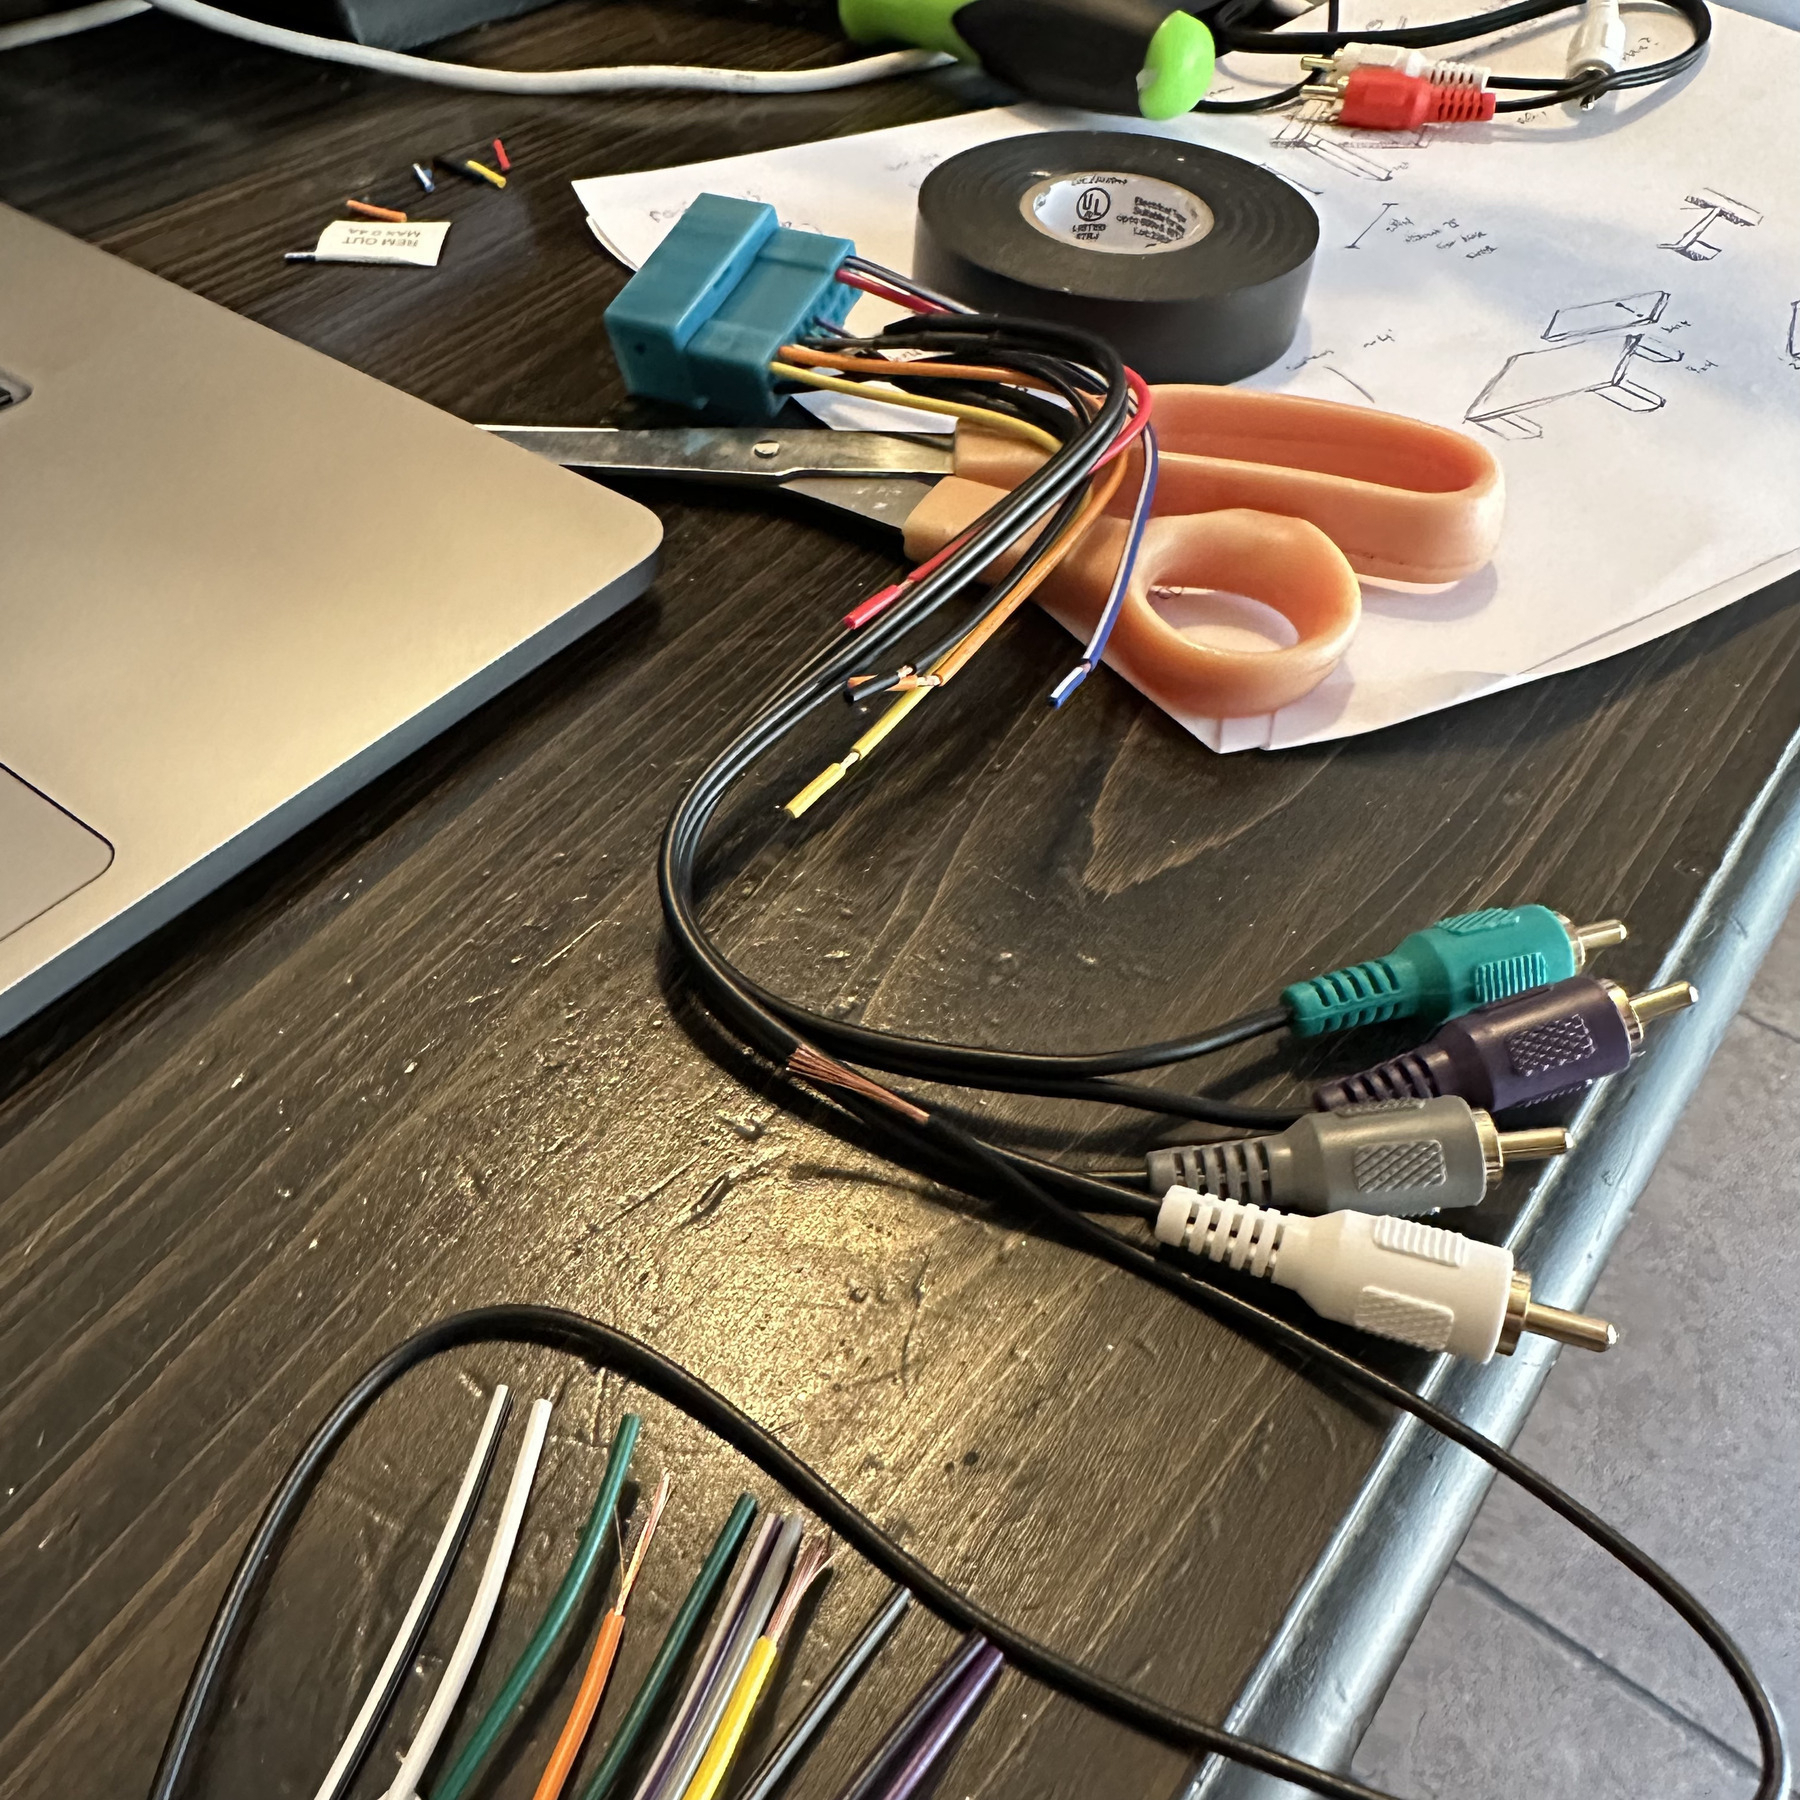
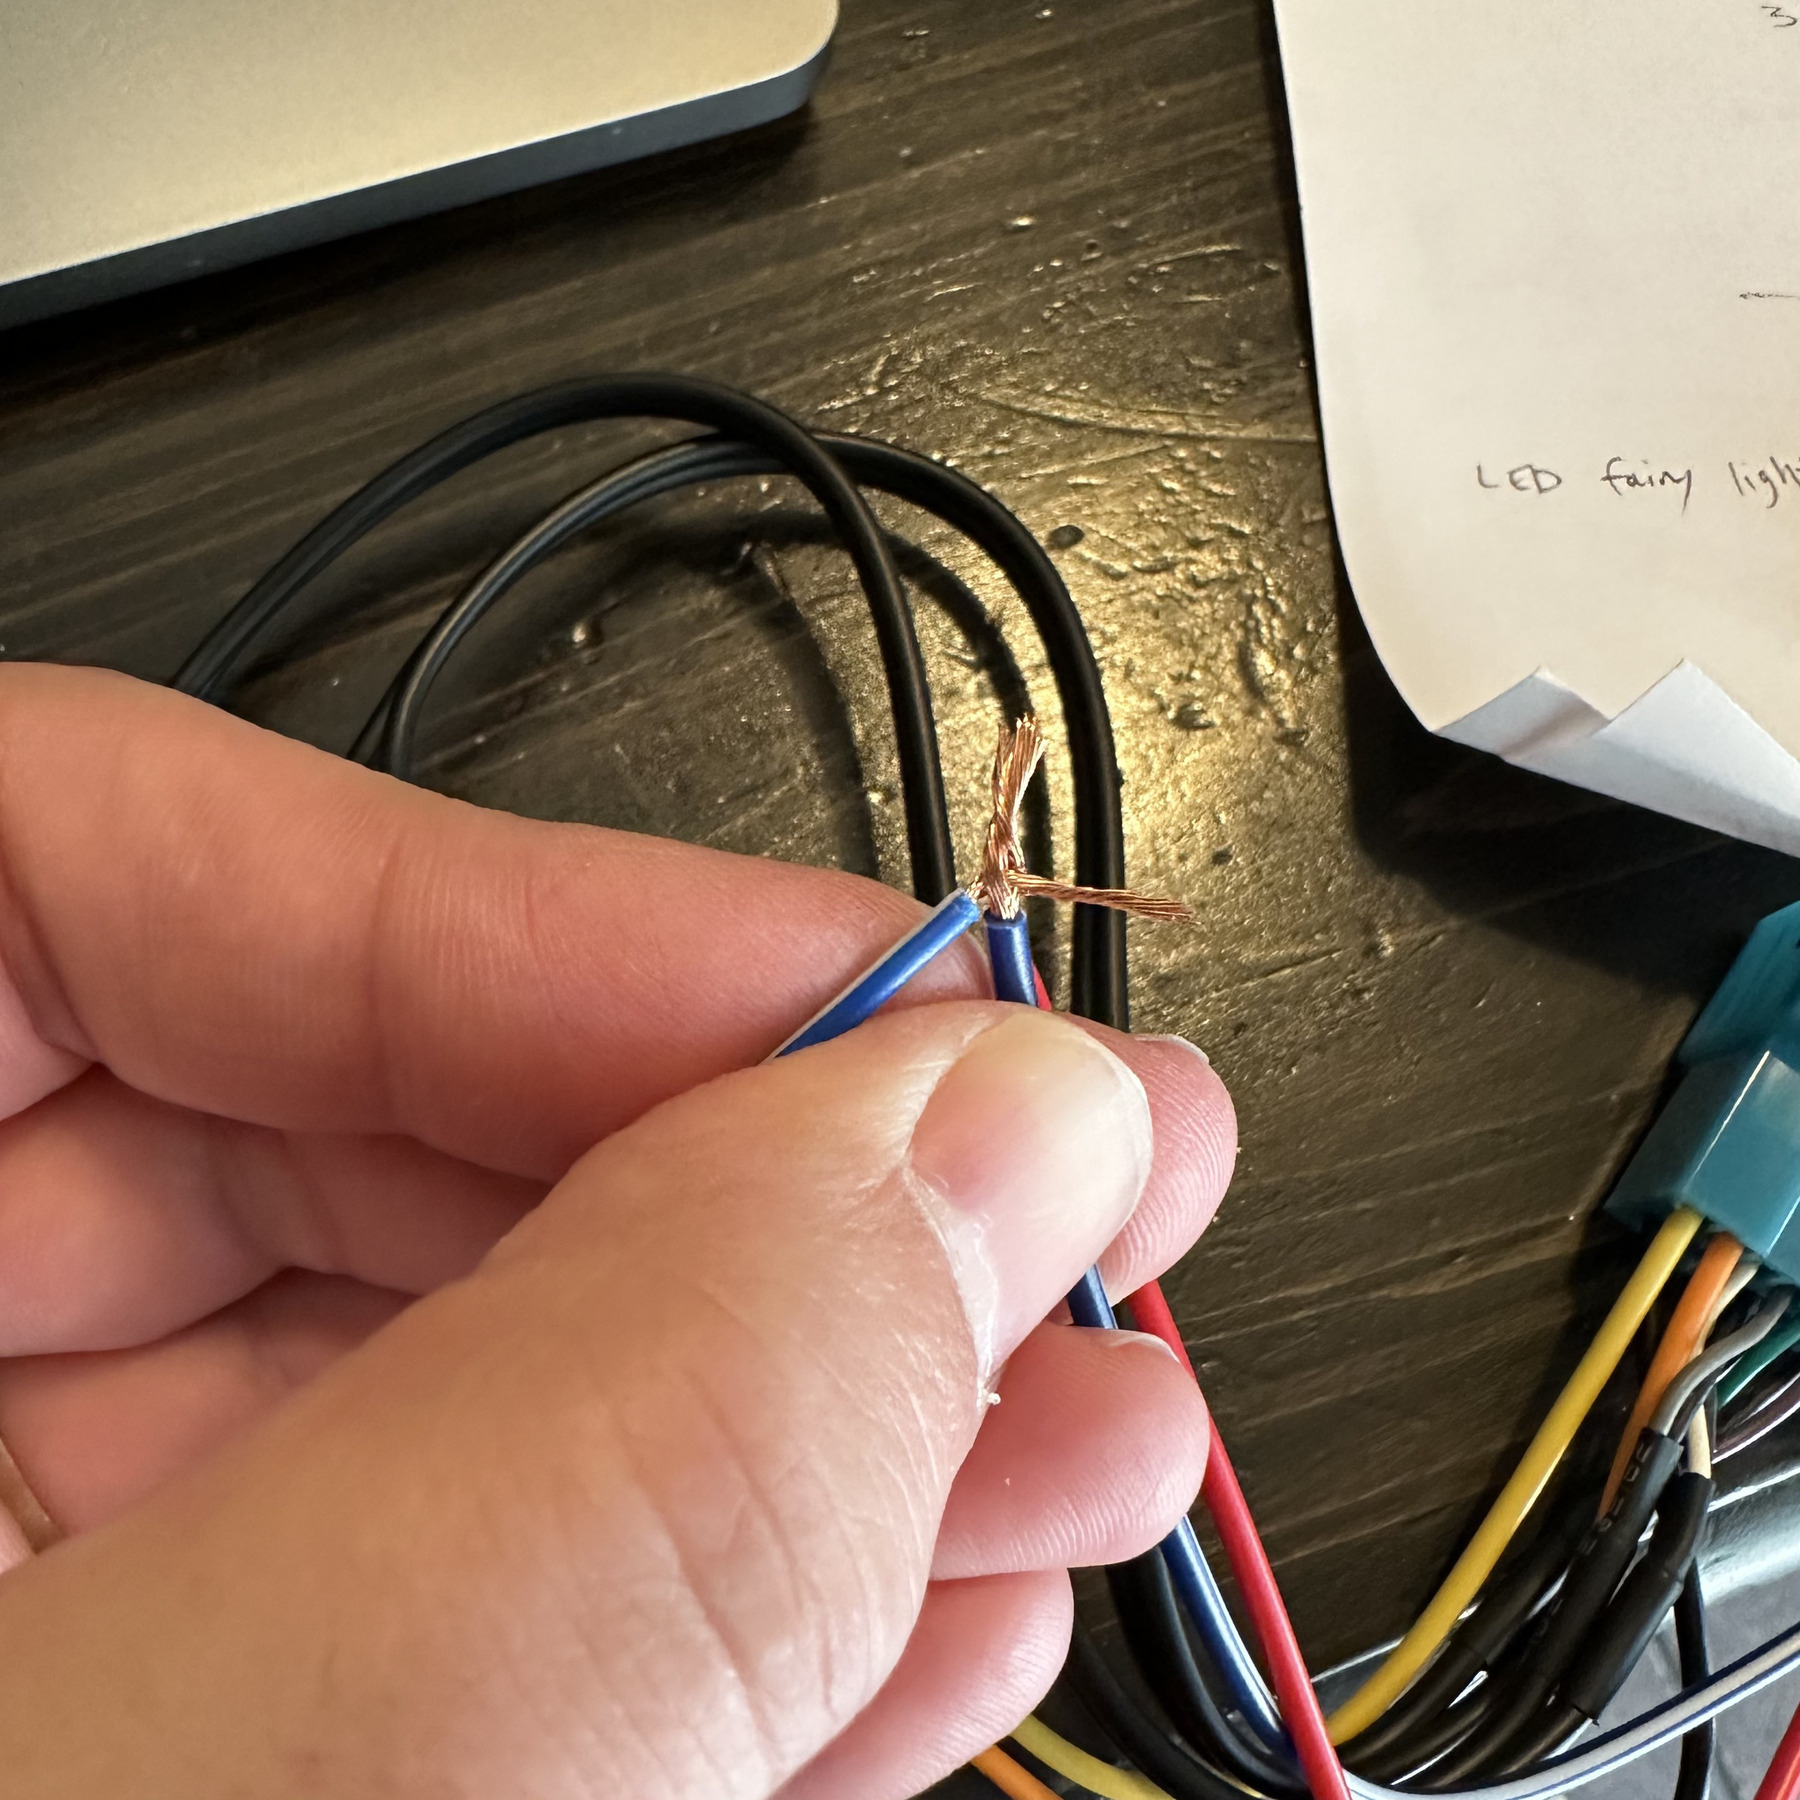
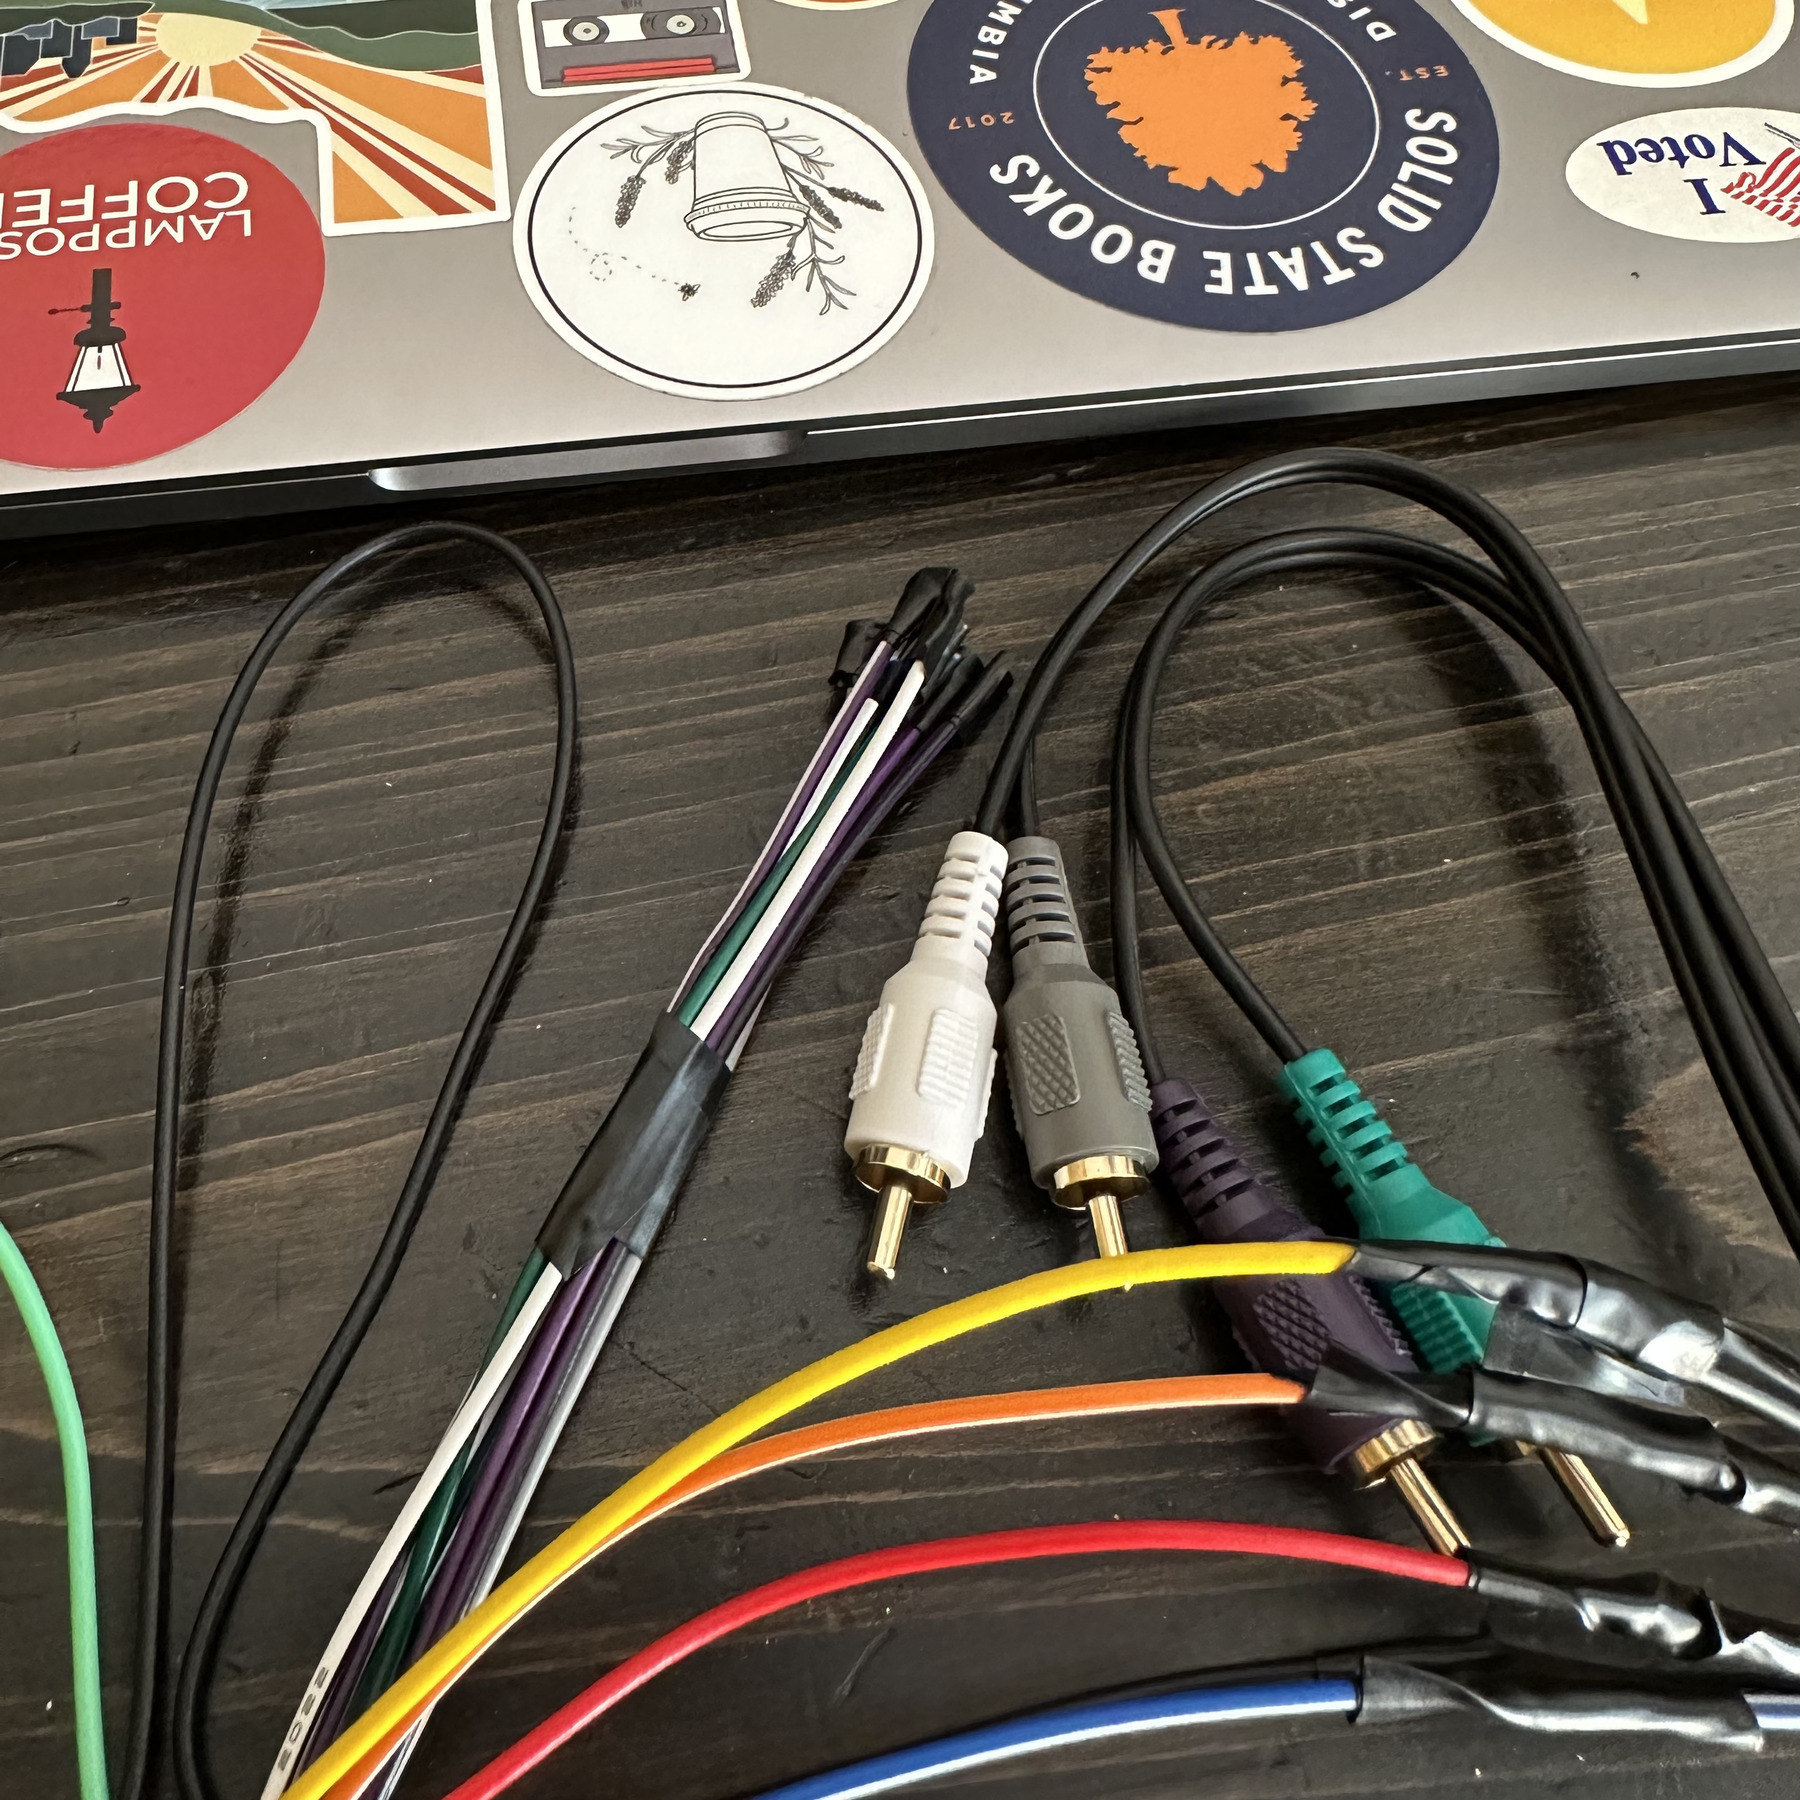
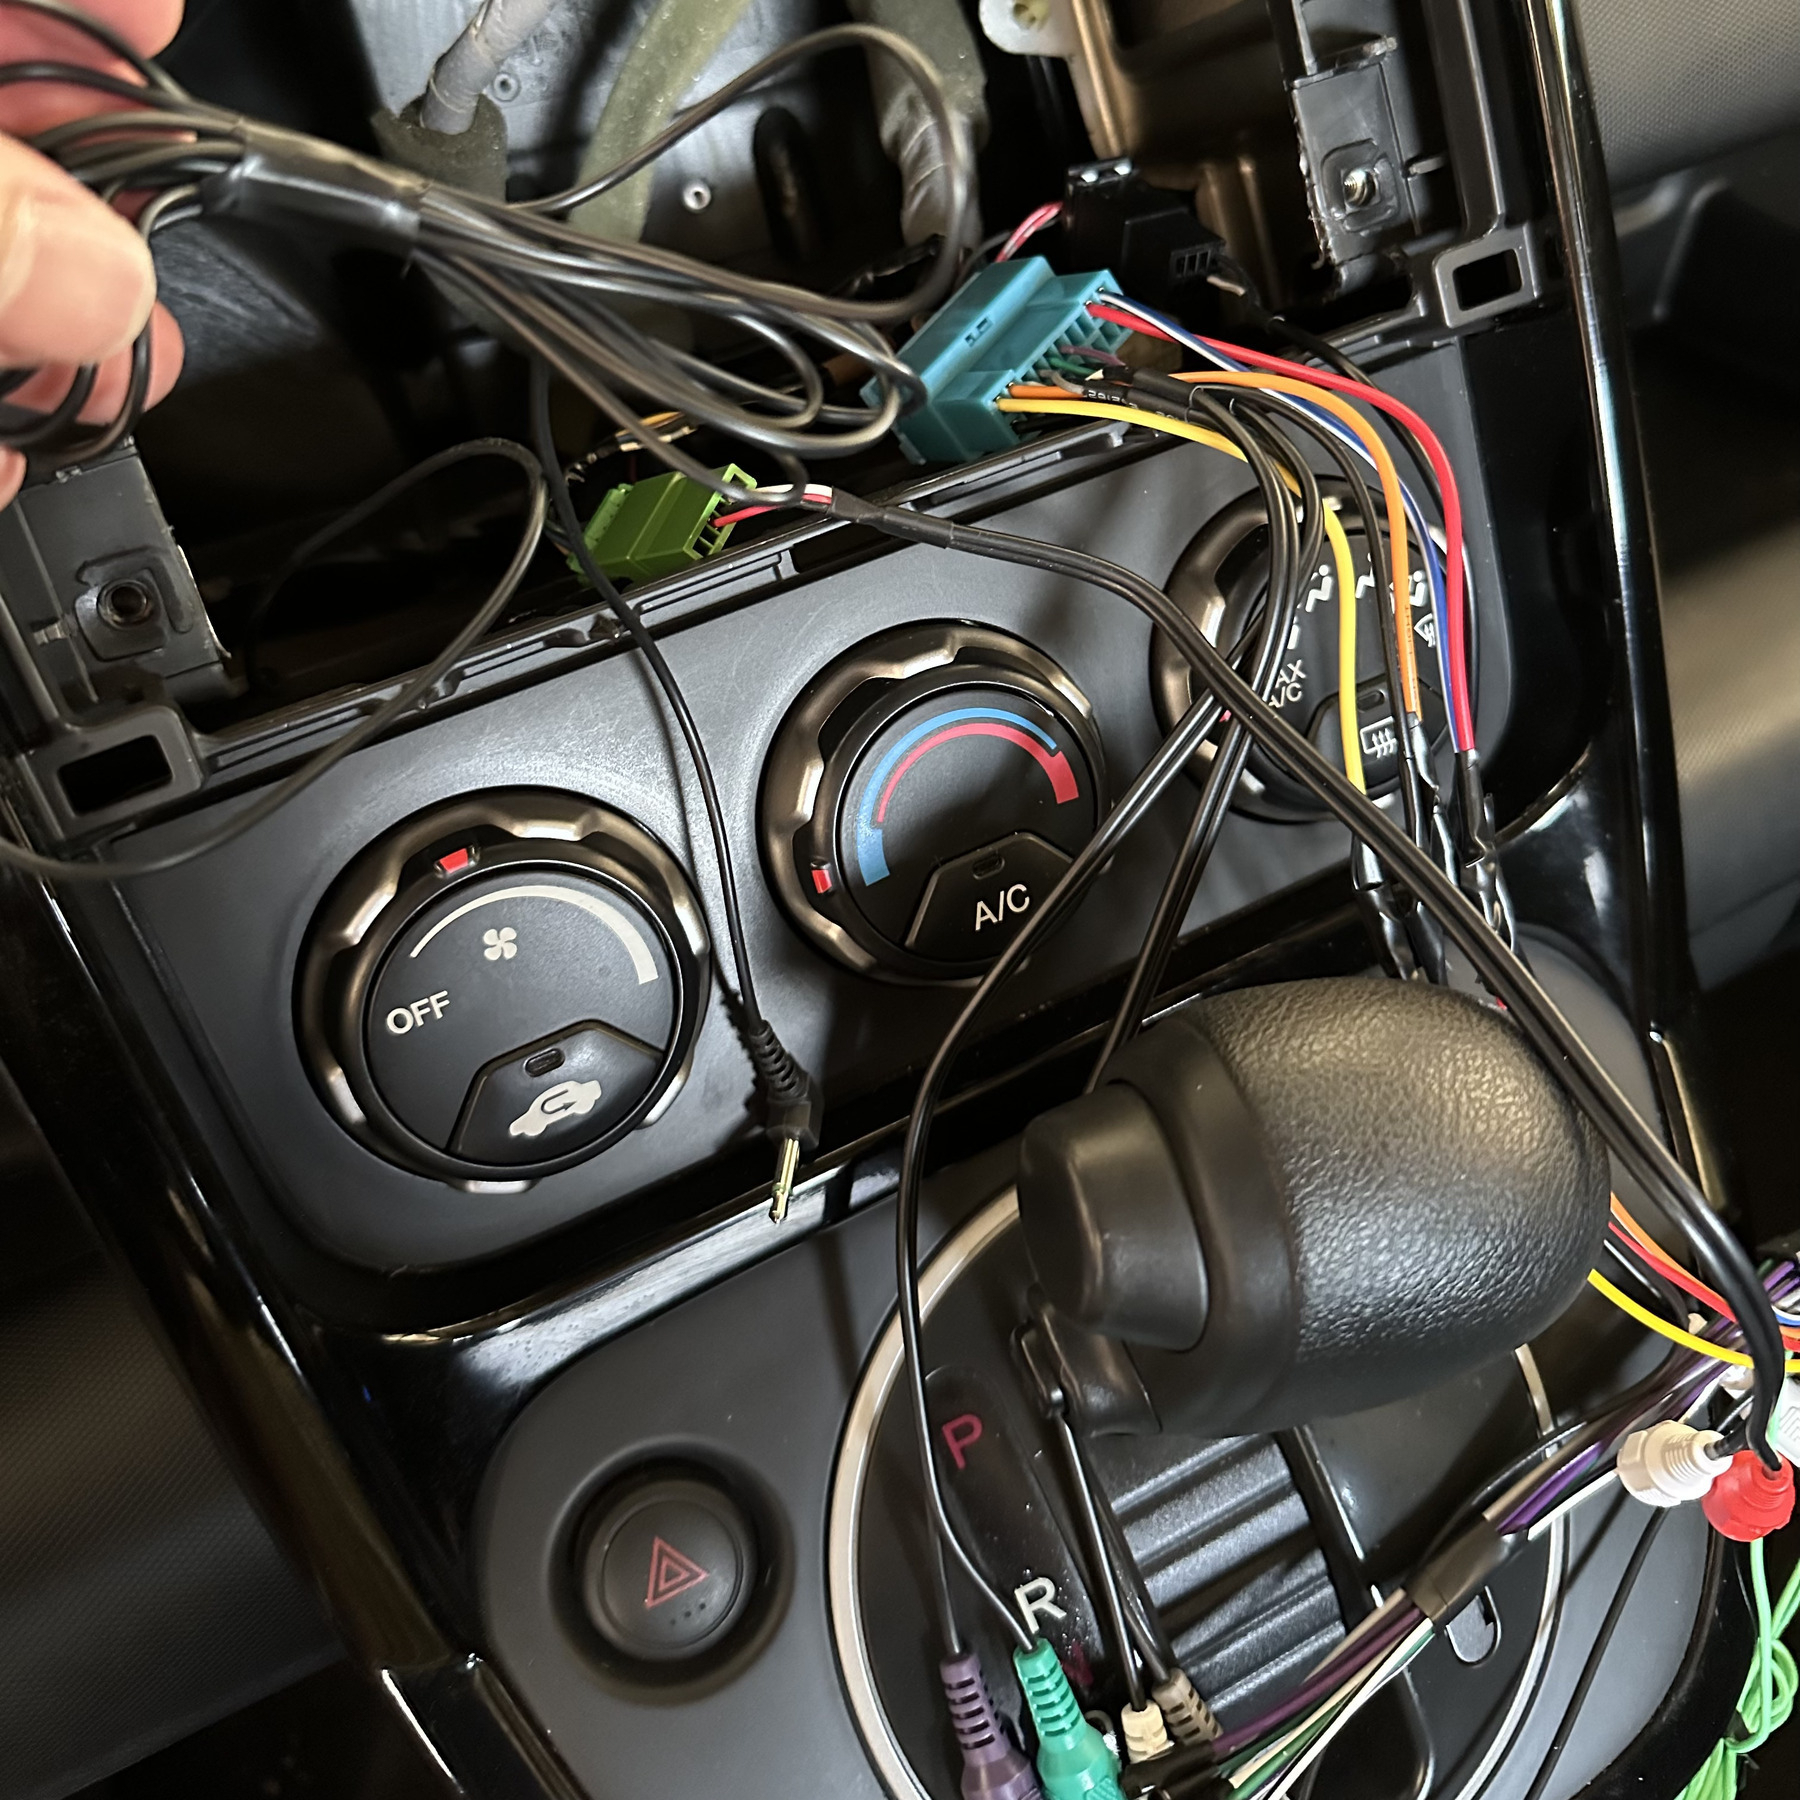
Over the weekend, my son helped me add a backup camera. This was in some ways the most complicated upgrade I’ve done and really benefited from an extra pair of hands. He also has a soldering kit, multimeter, and other electrical accessories that were really helpful, and more experience than I do with making gadgets.
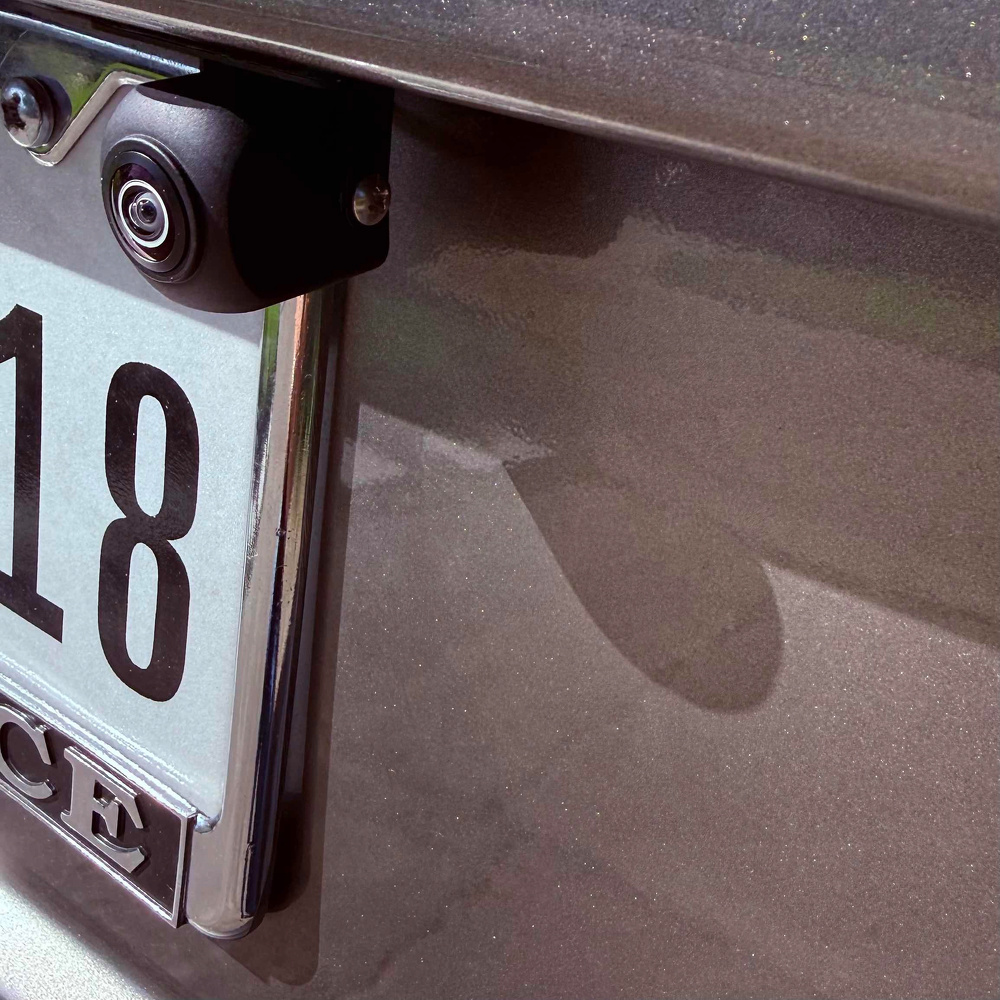
I bought this camera on Amazon: PixelMan PMD2A-S. Only $38. It comes with a very long RCA cable that can stretch from the back of the car all the way to the CarPlay unit in the front. There’s also a wire that gets power when the car is in reverse, turning on the camera and signaling to the screen to switch to the camera view.
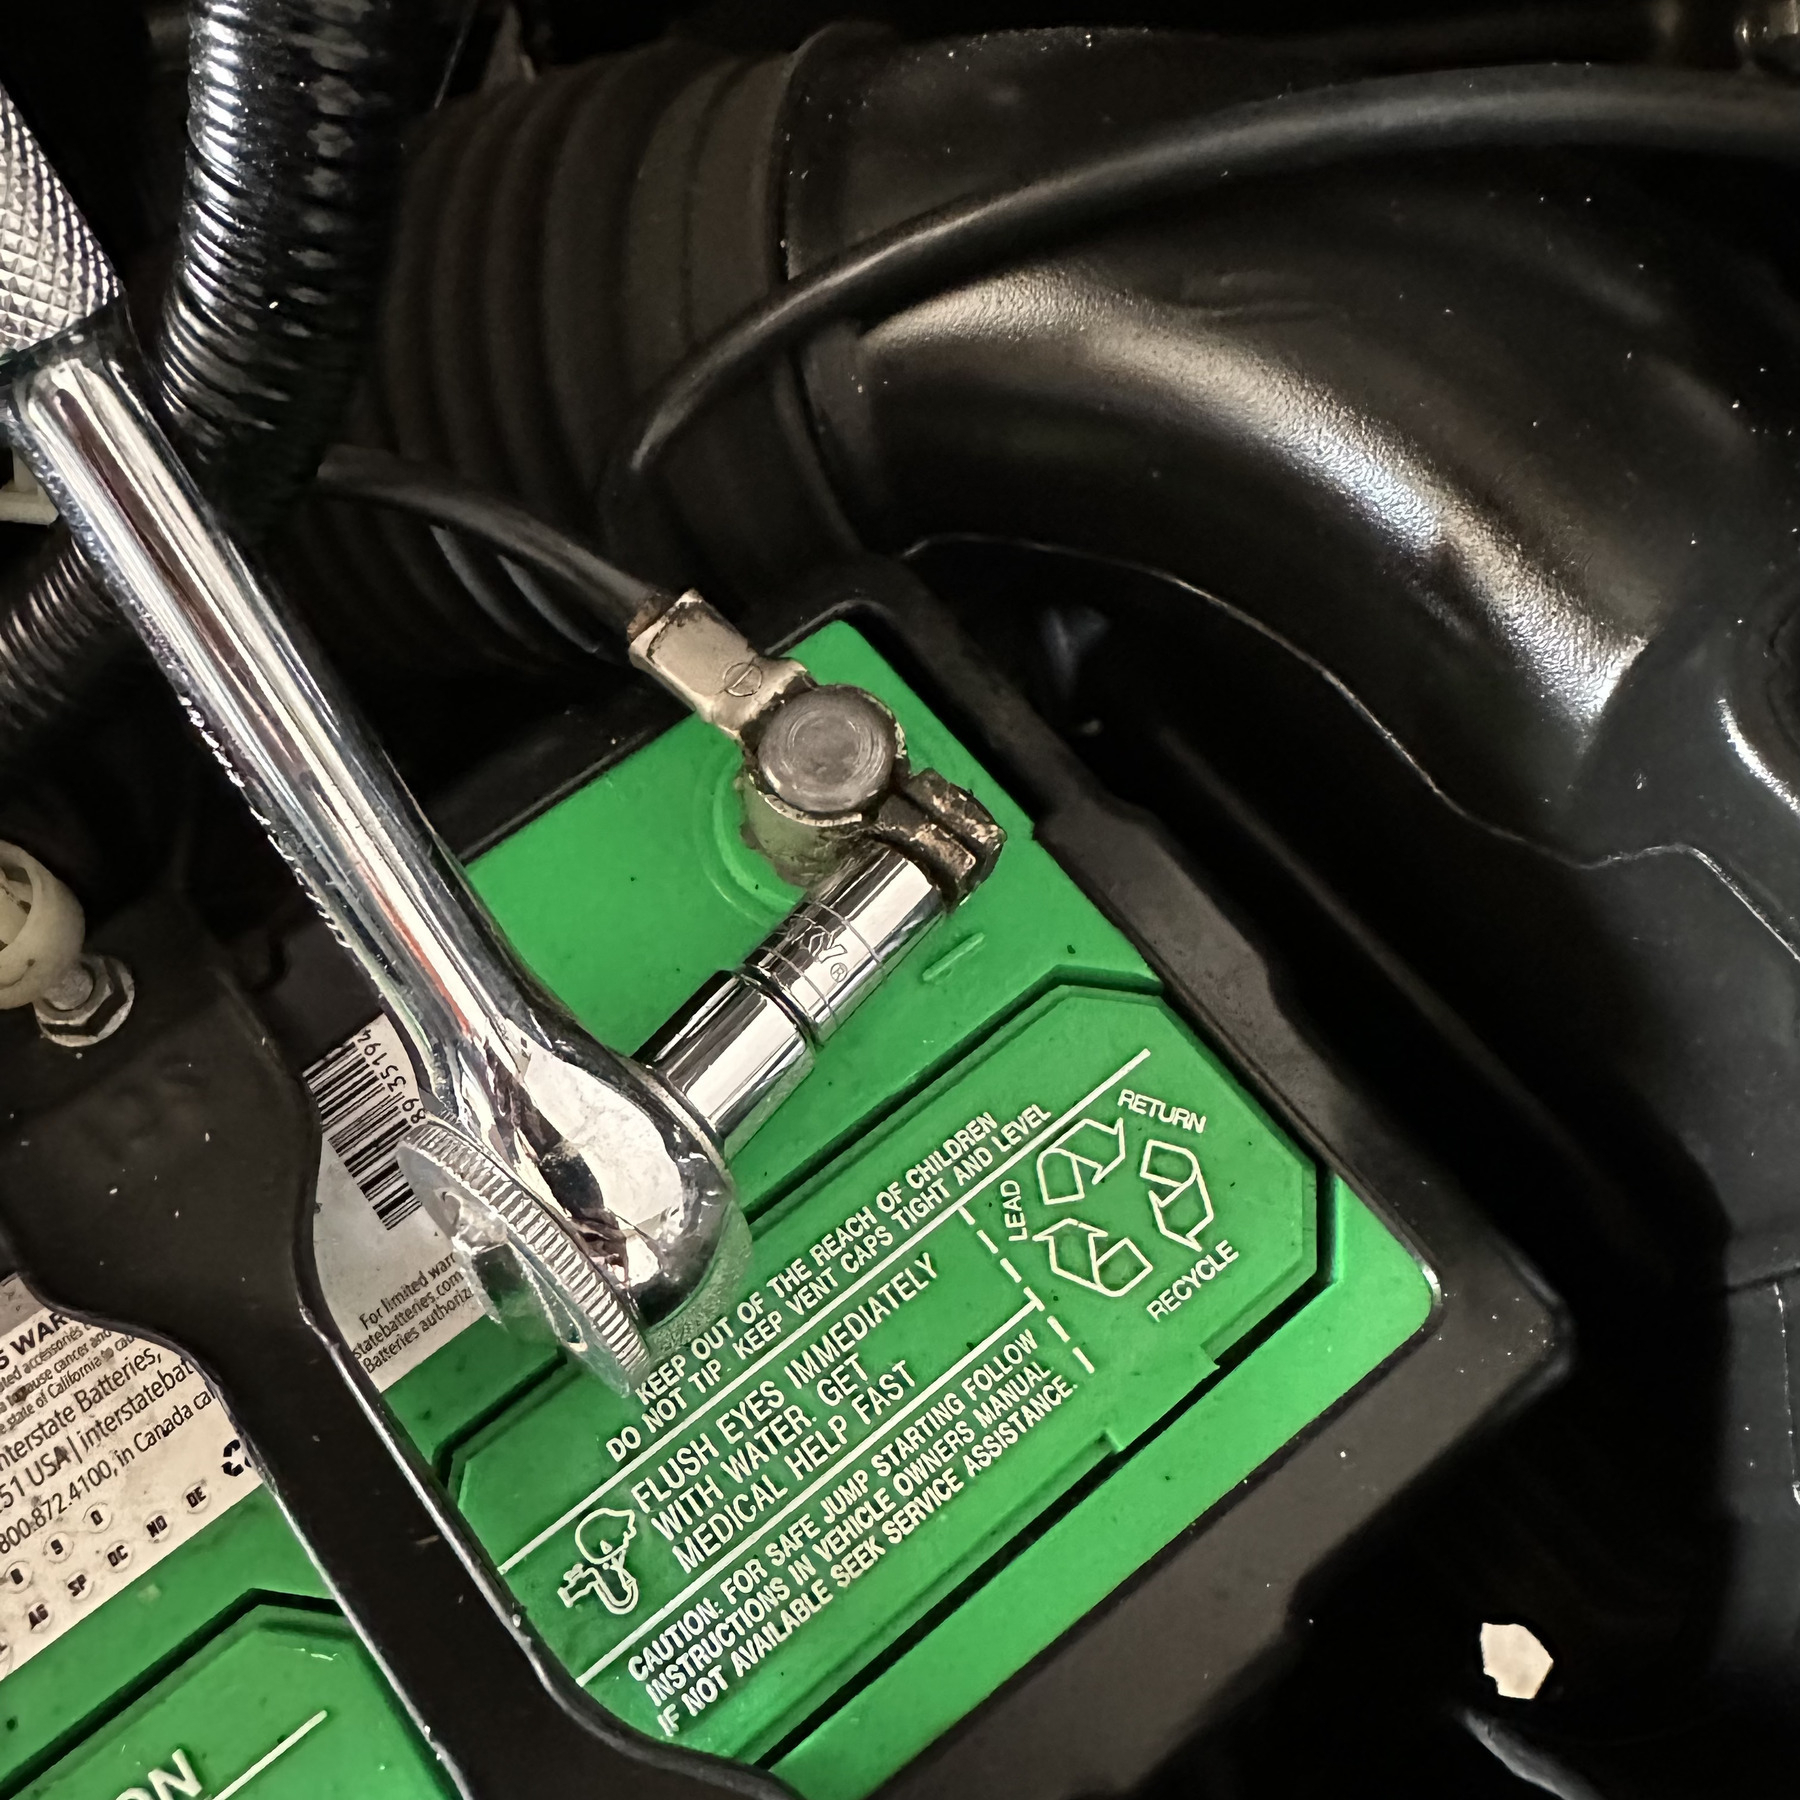
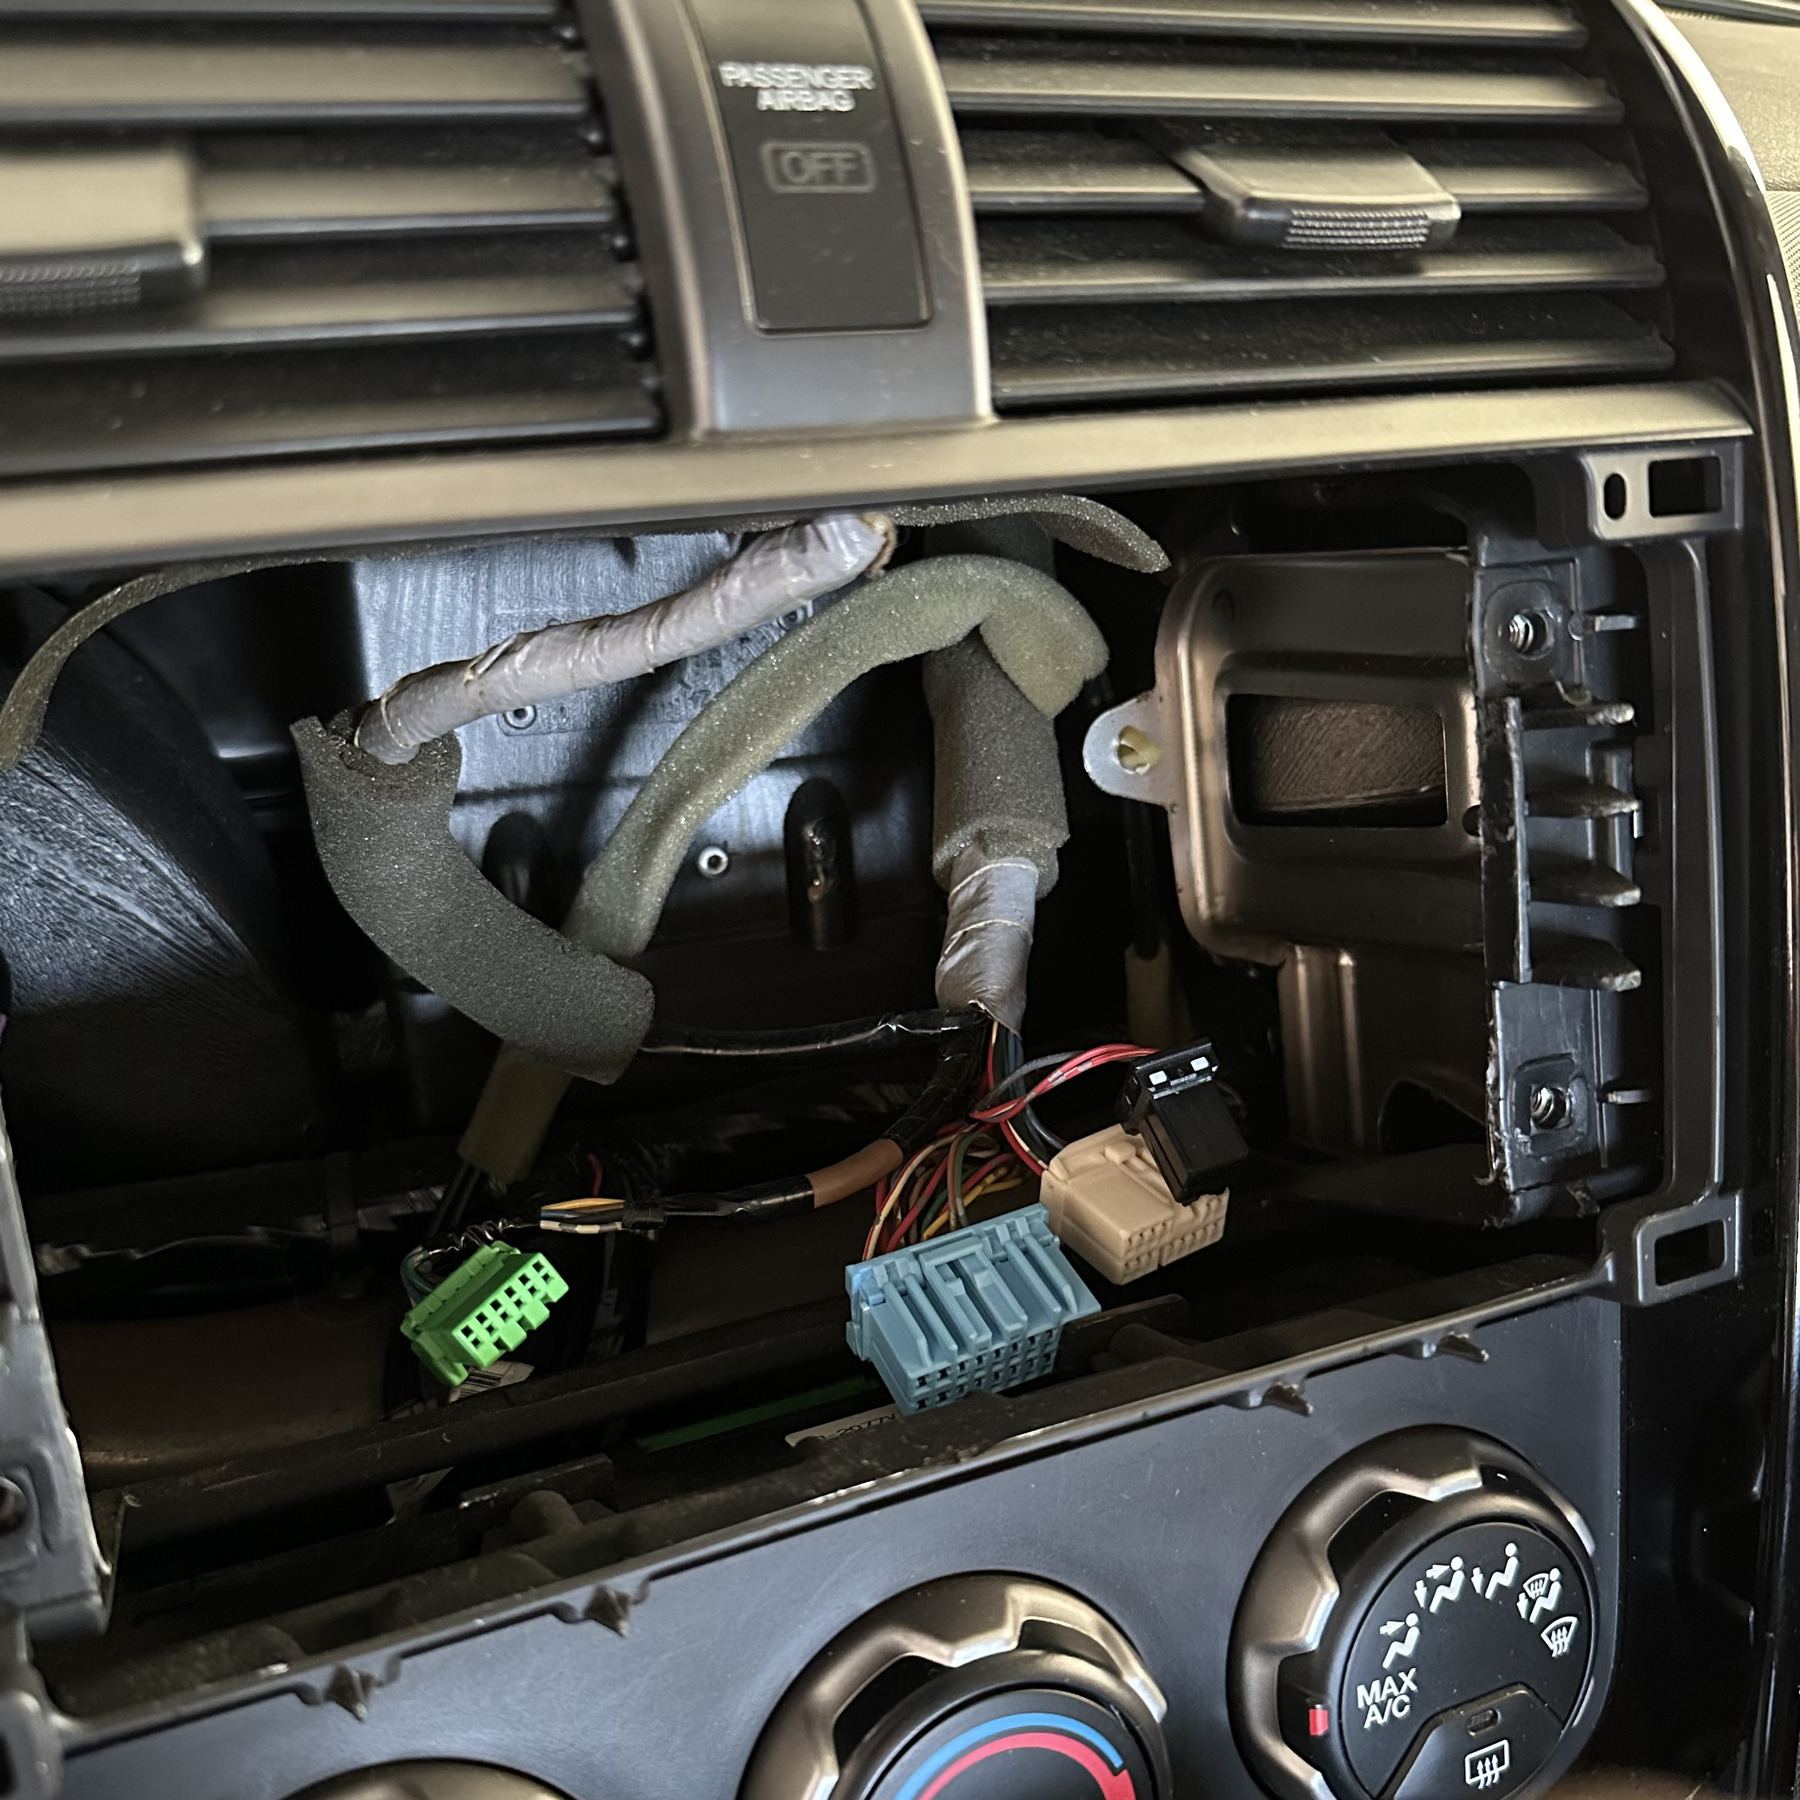
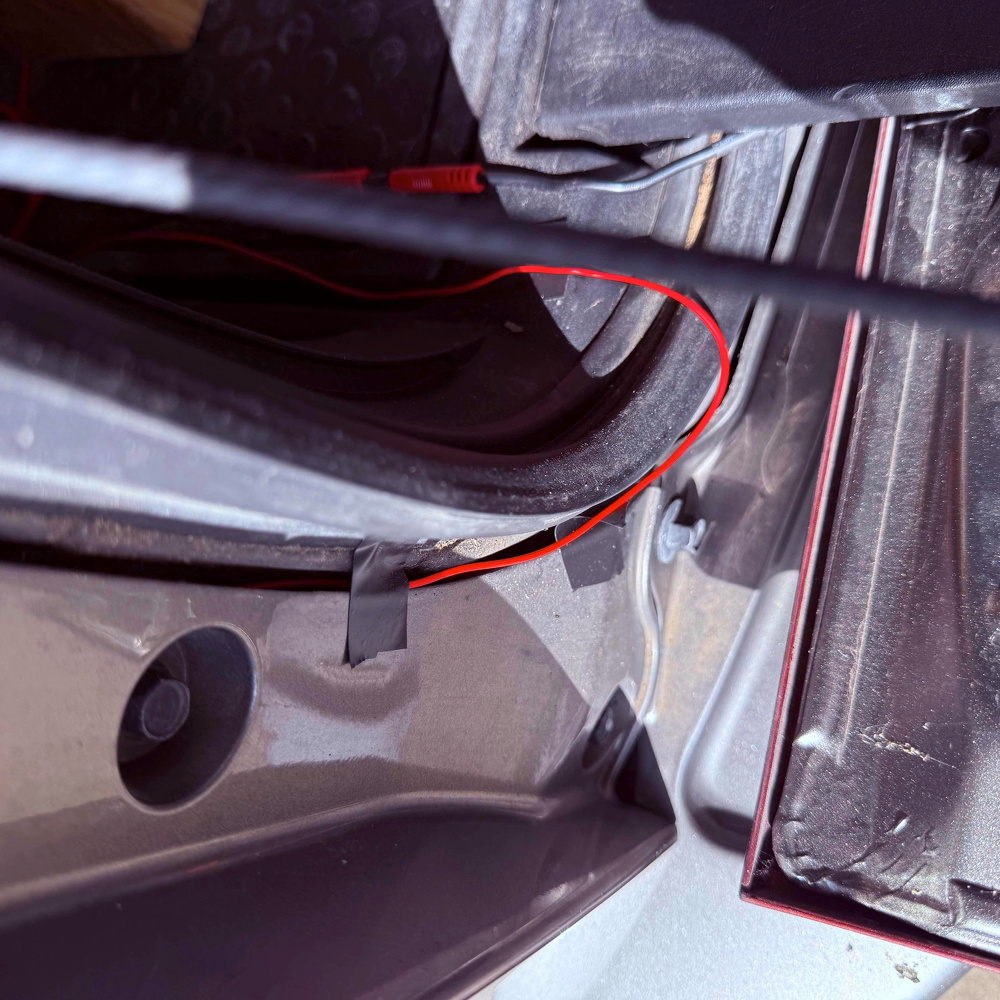
There are two ways to wire the power: splice into a connection under the dashboard that is apparently impossible to reach, or splice into the line at the taillight. We decided to go with the taillight. The cables reached better there and the ground wire was nearby too, where I connected it to a bolt at one of the tie-down latches. On my car, the wire to cut is green/black.
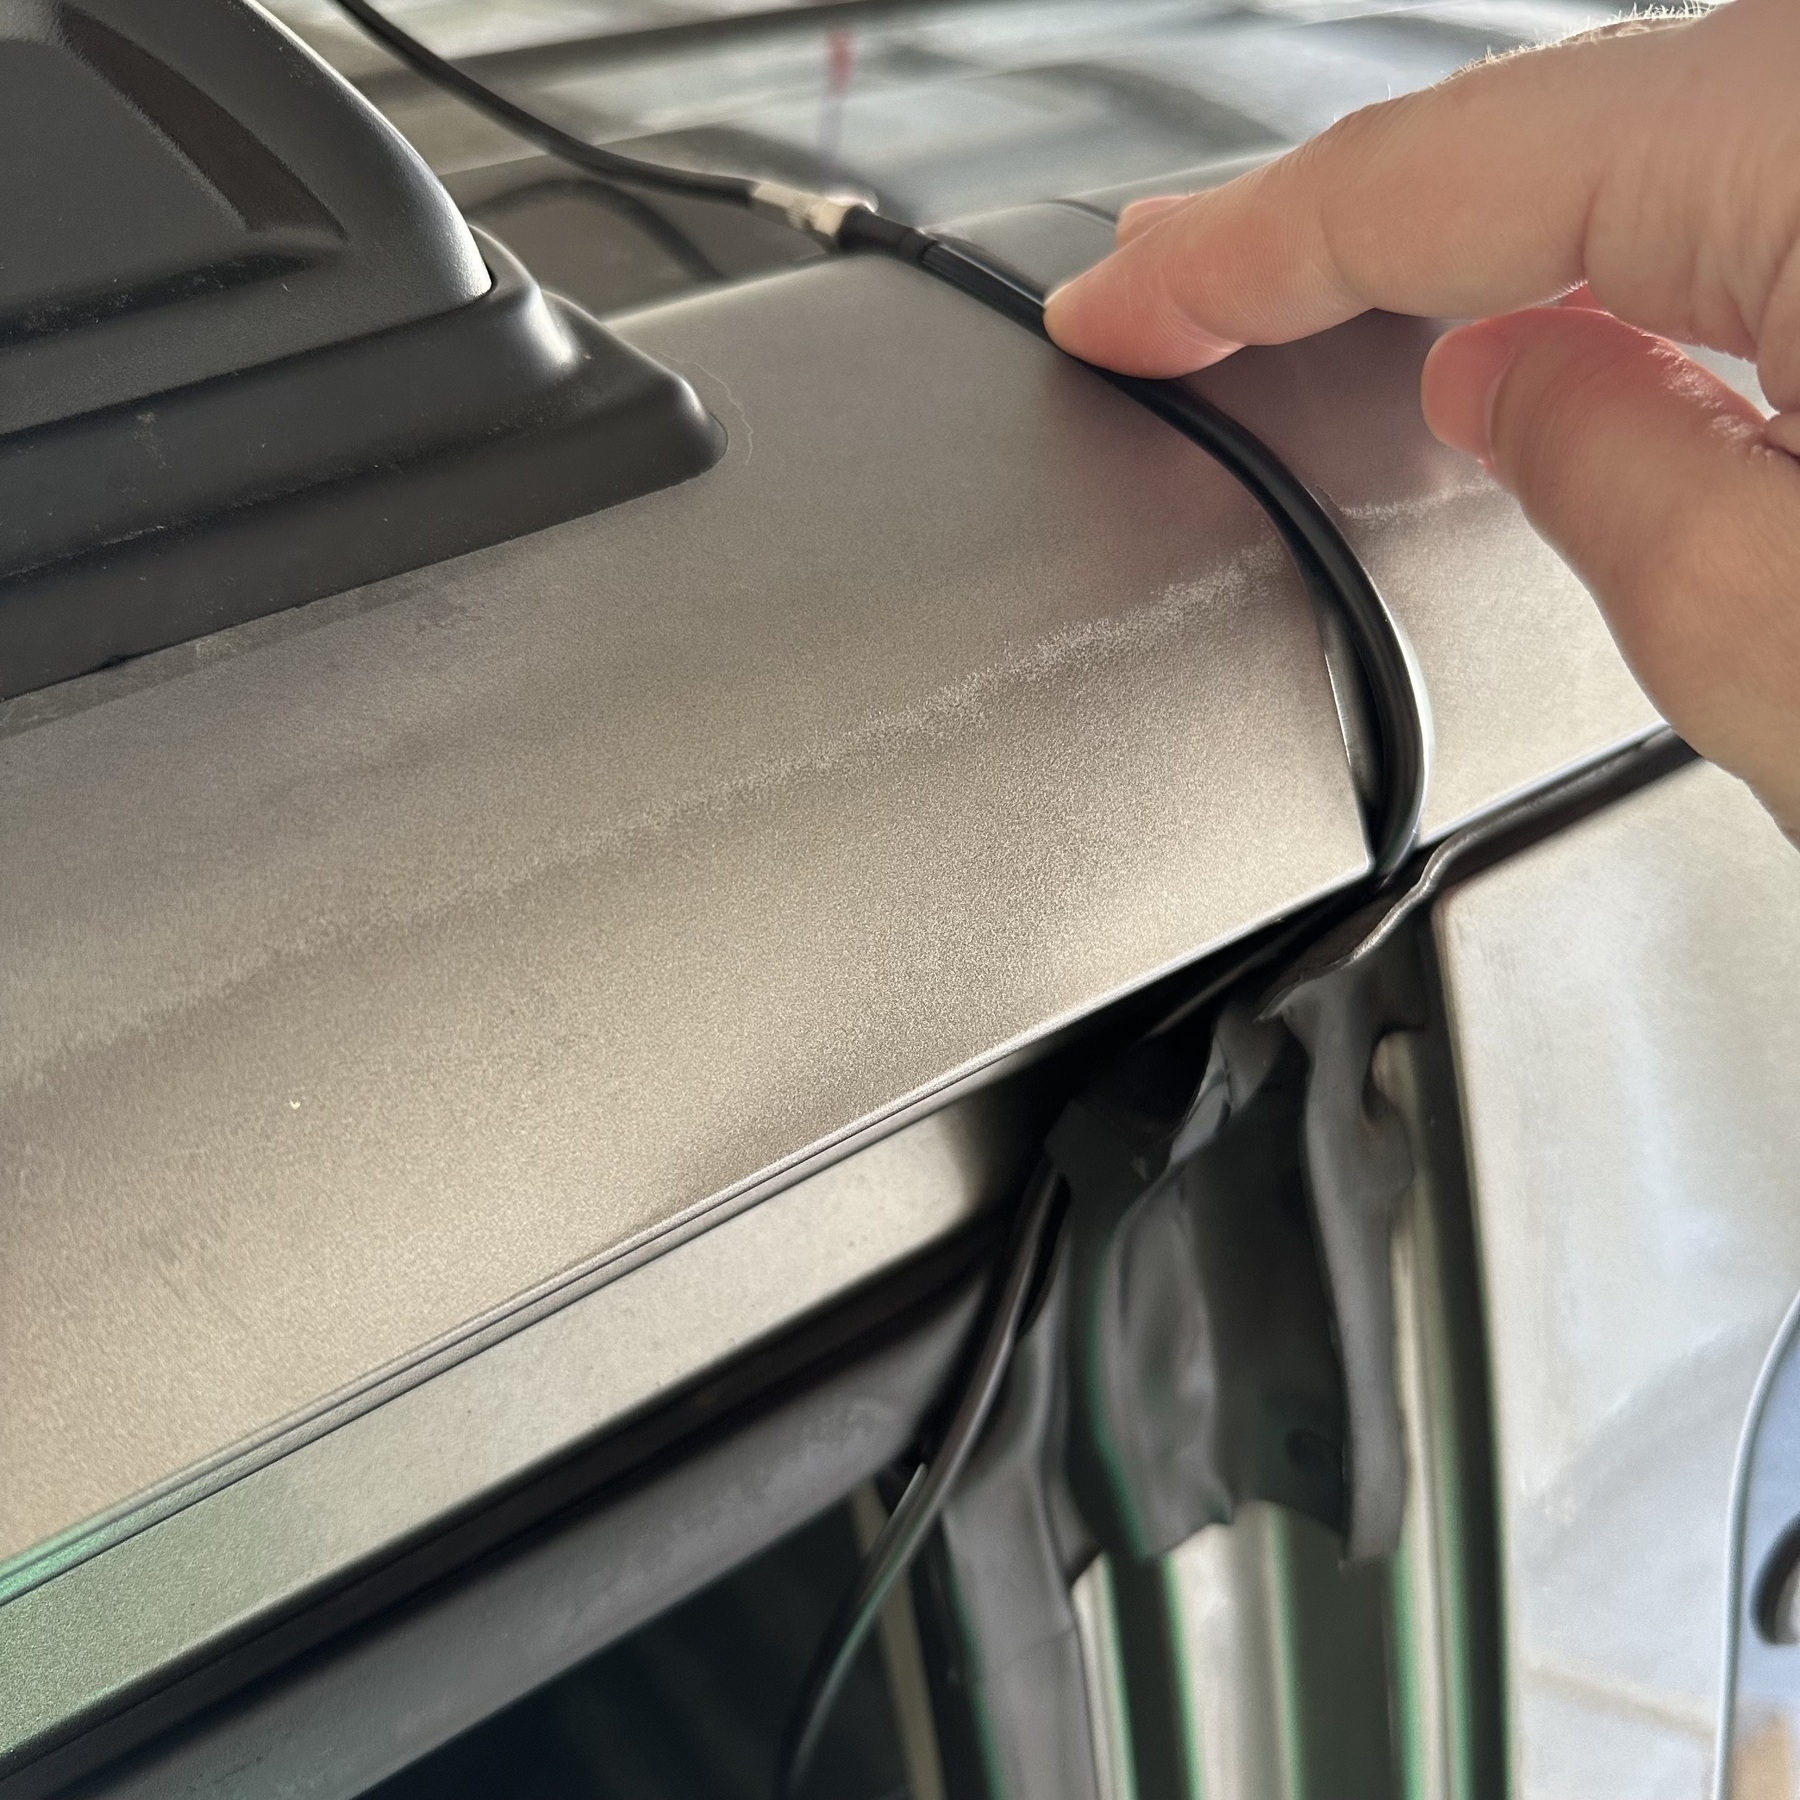
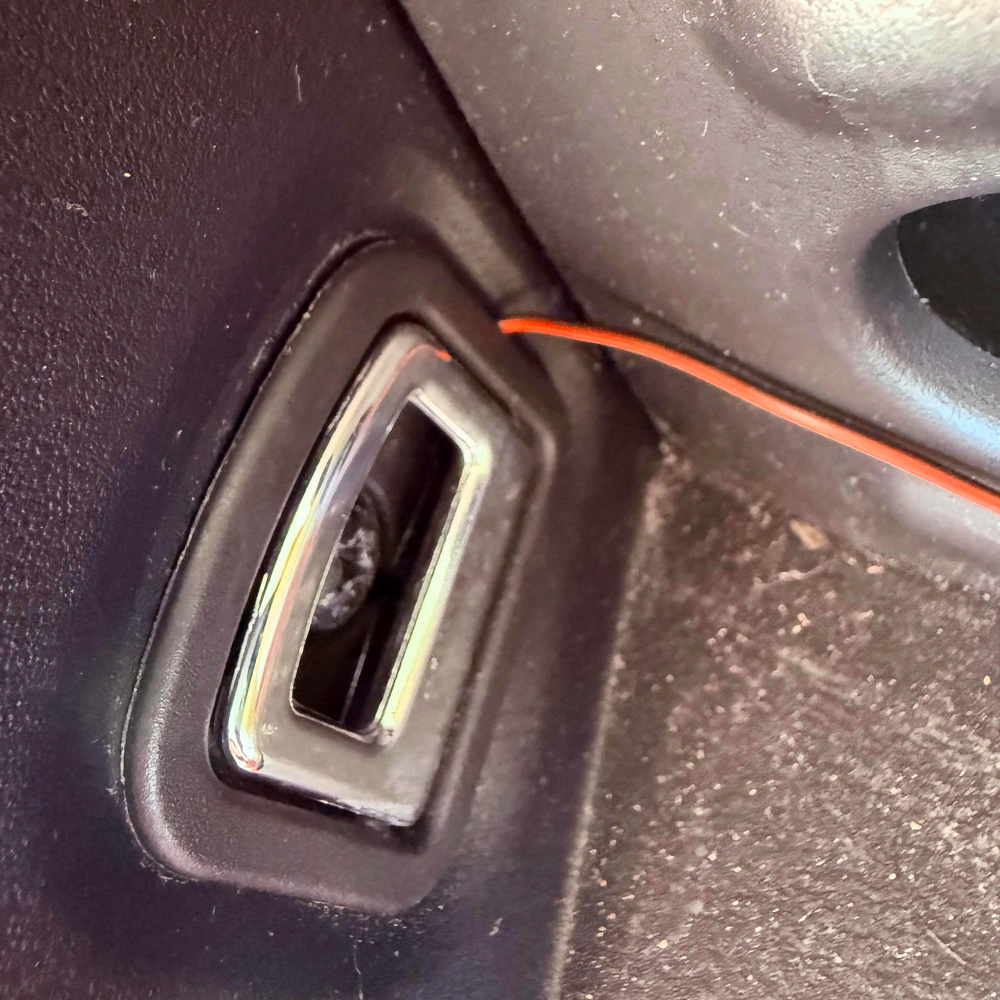
The next step was running the cable for the camera through the tailgate. This honestly took hours to get right. You can feed a wire through where the grommet for the license plate lights wiring is, then pull the video cable through.
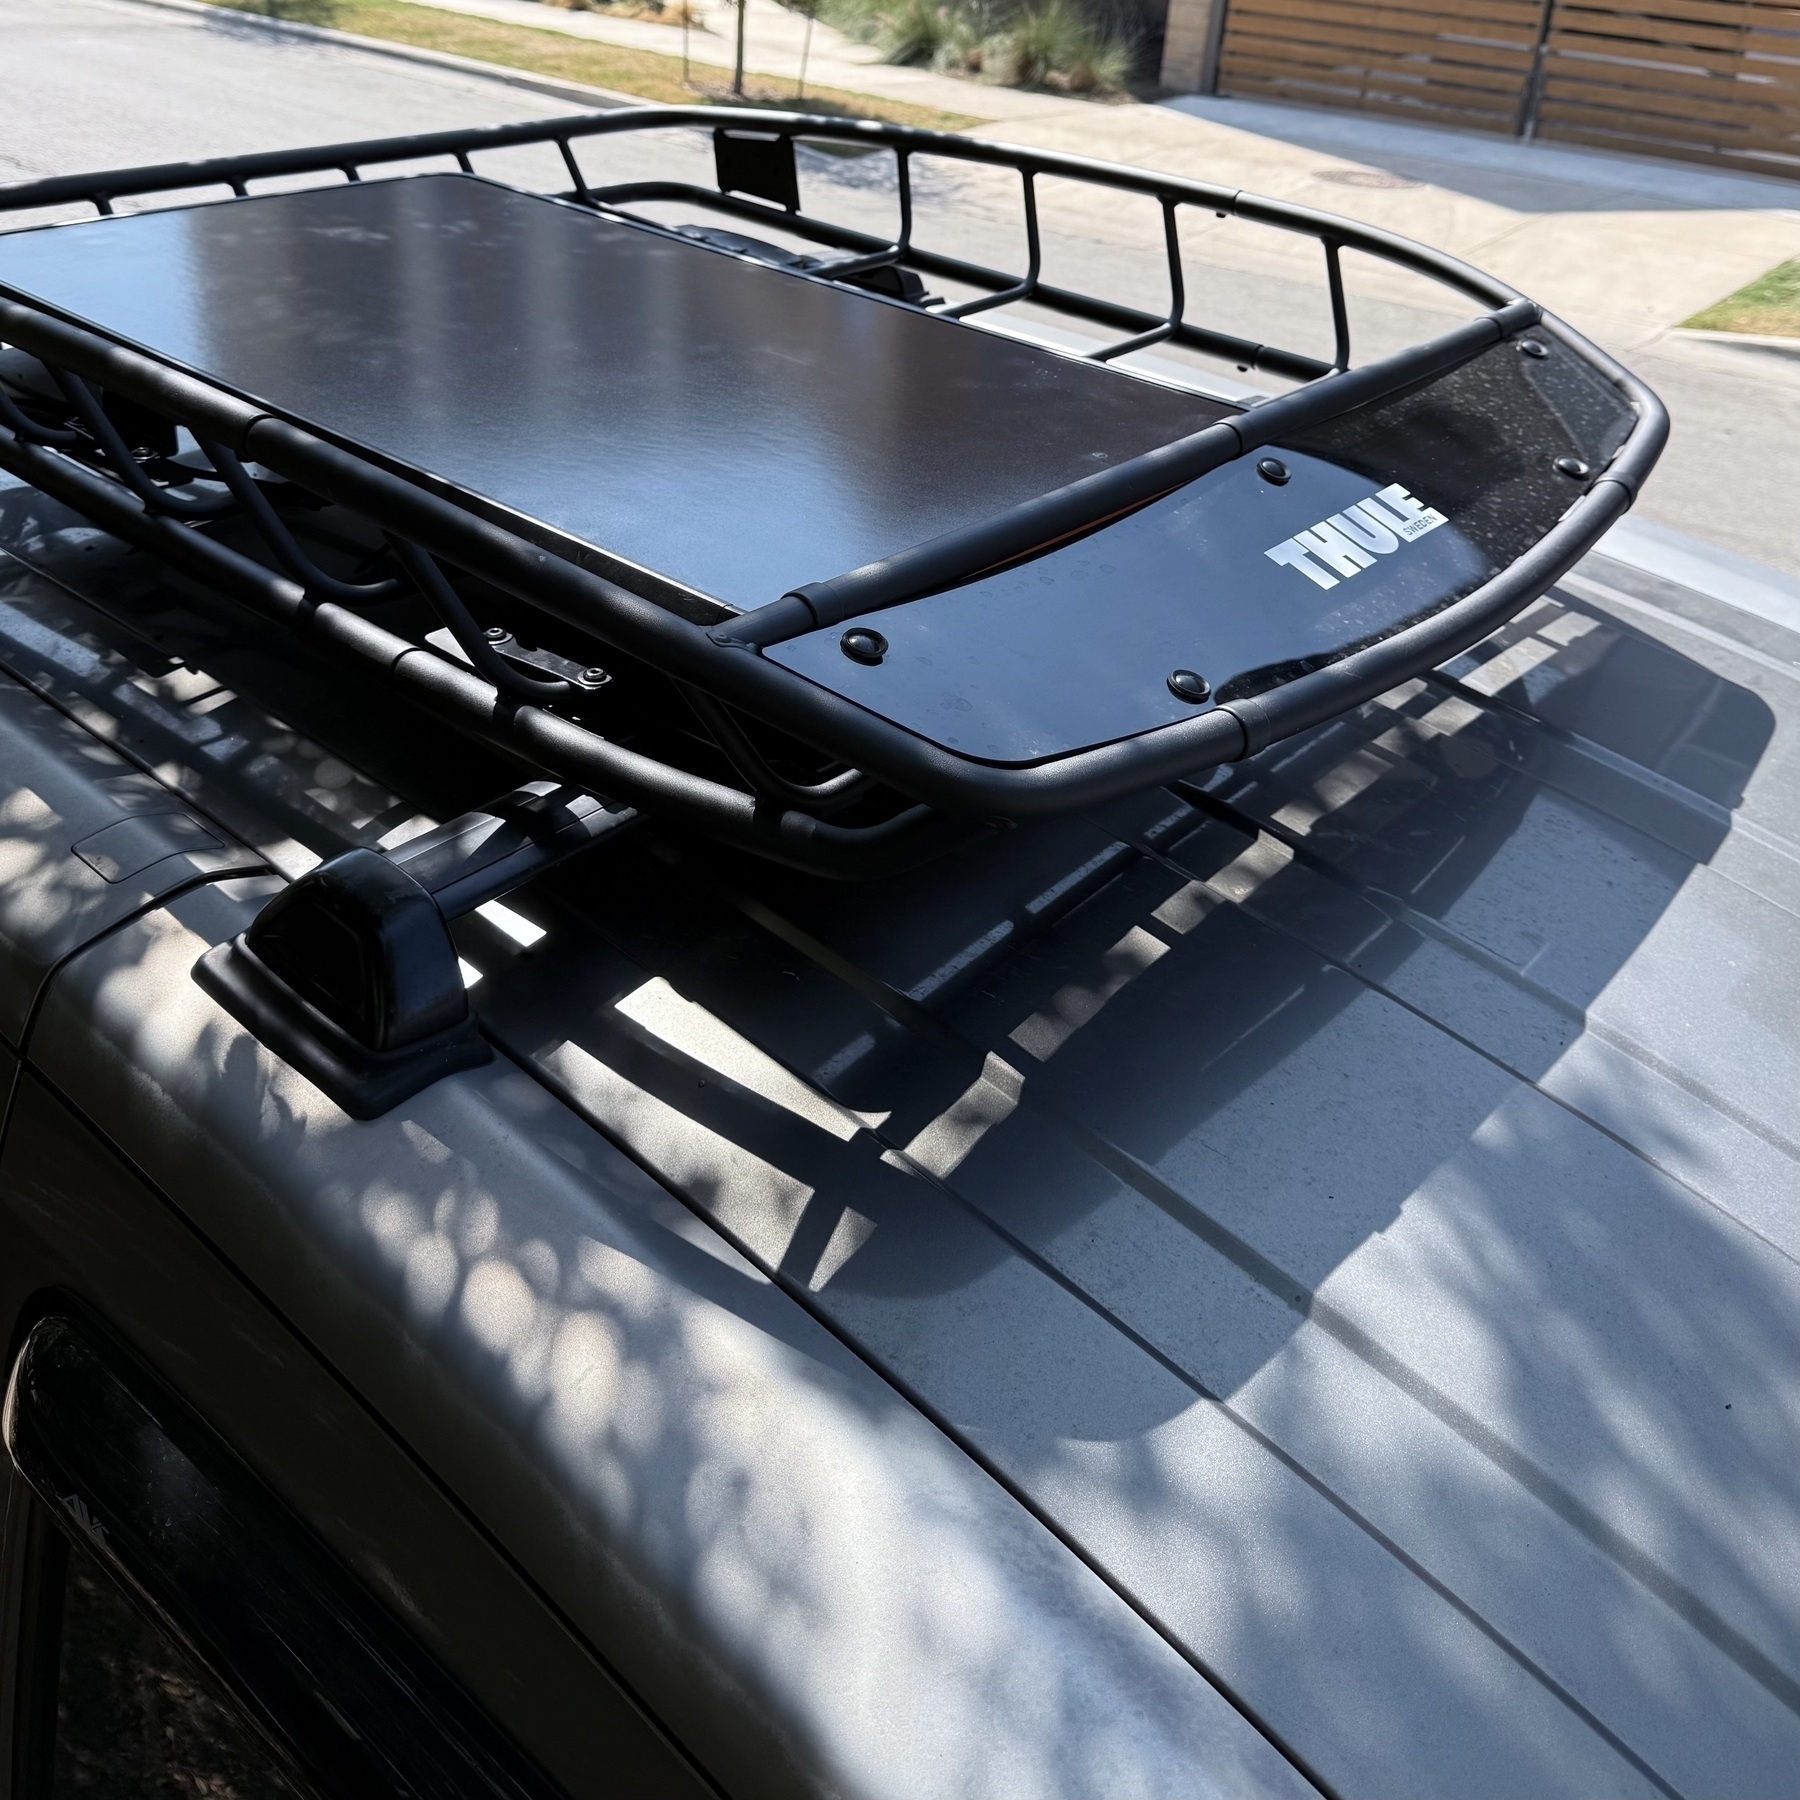
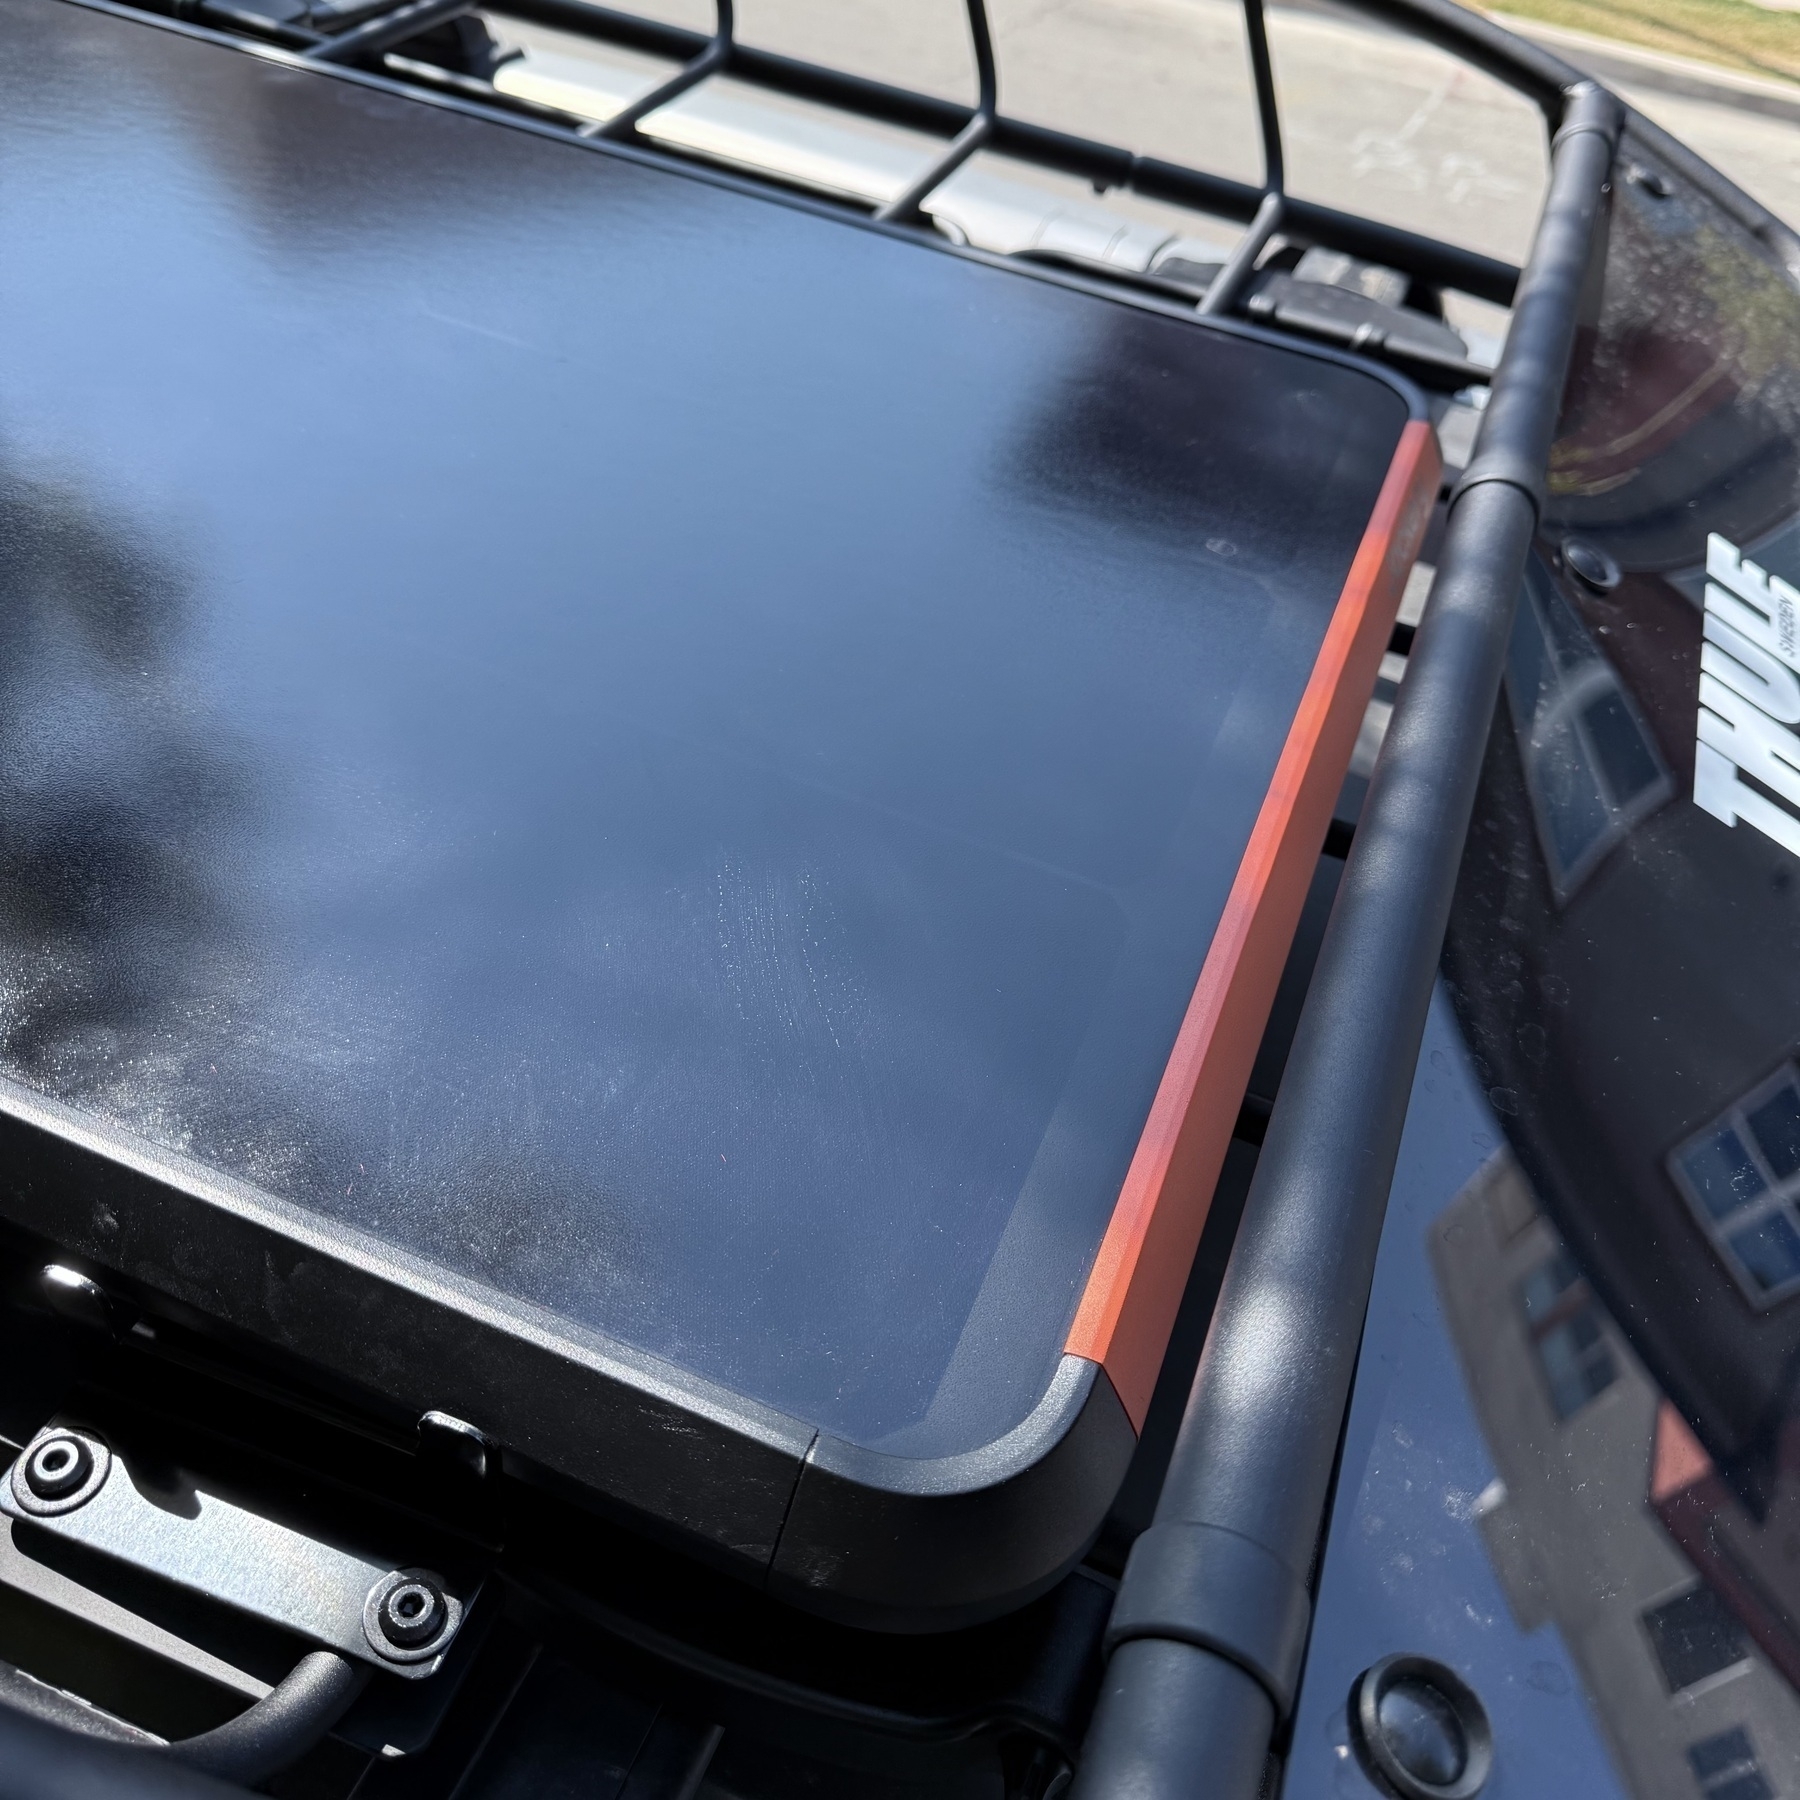
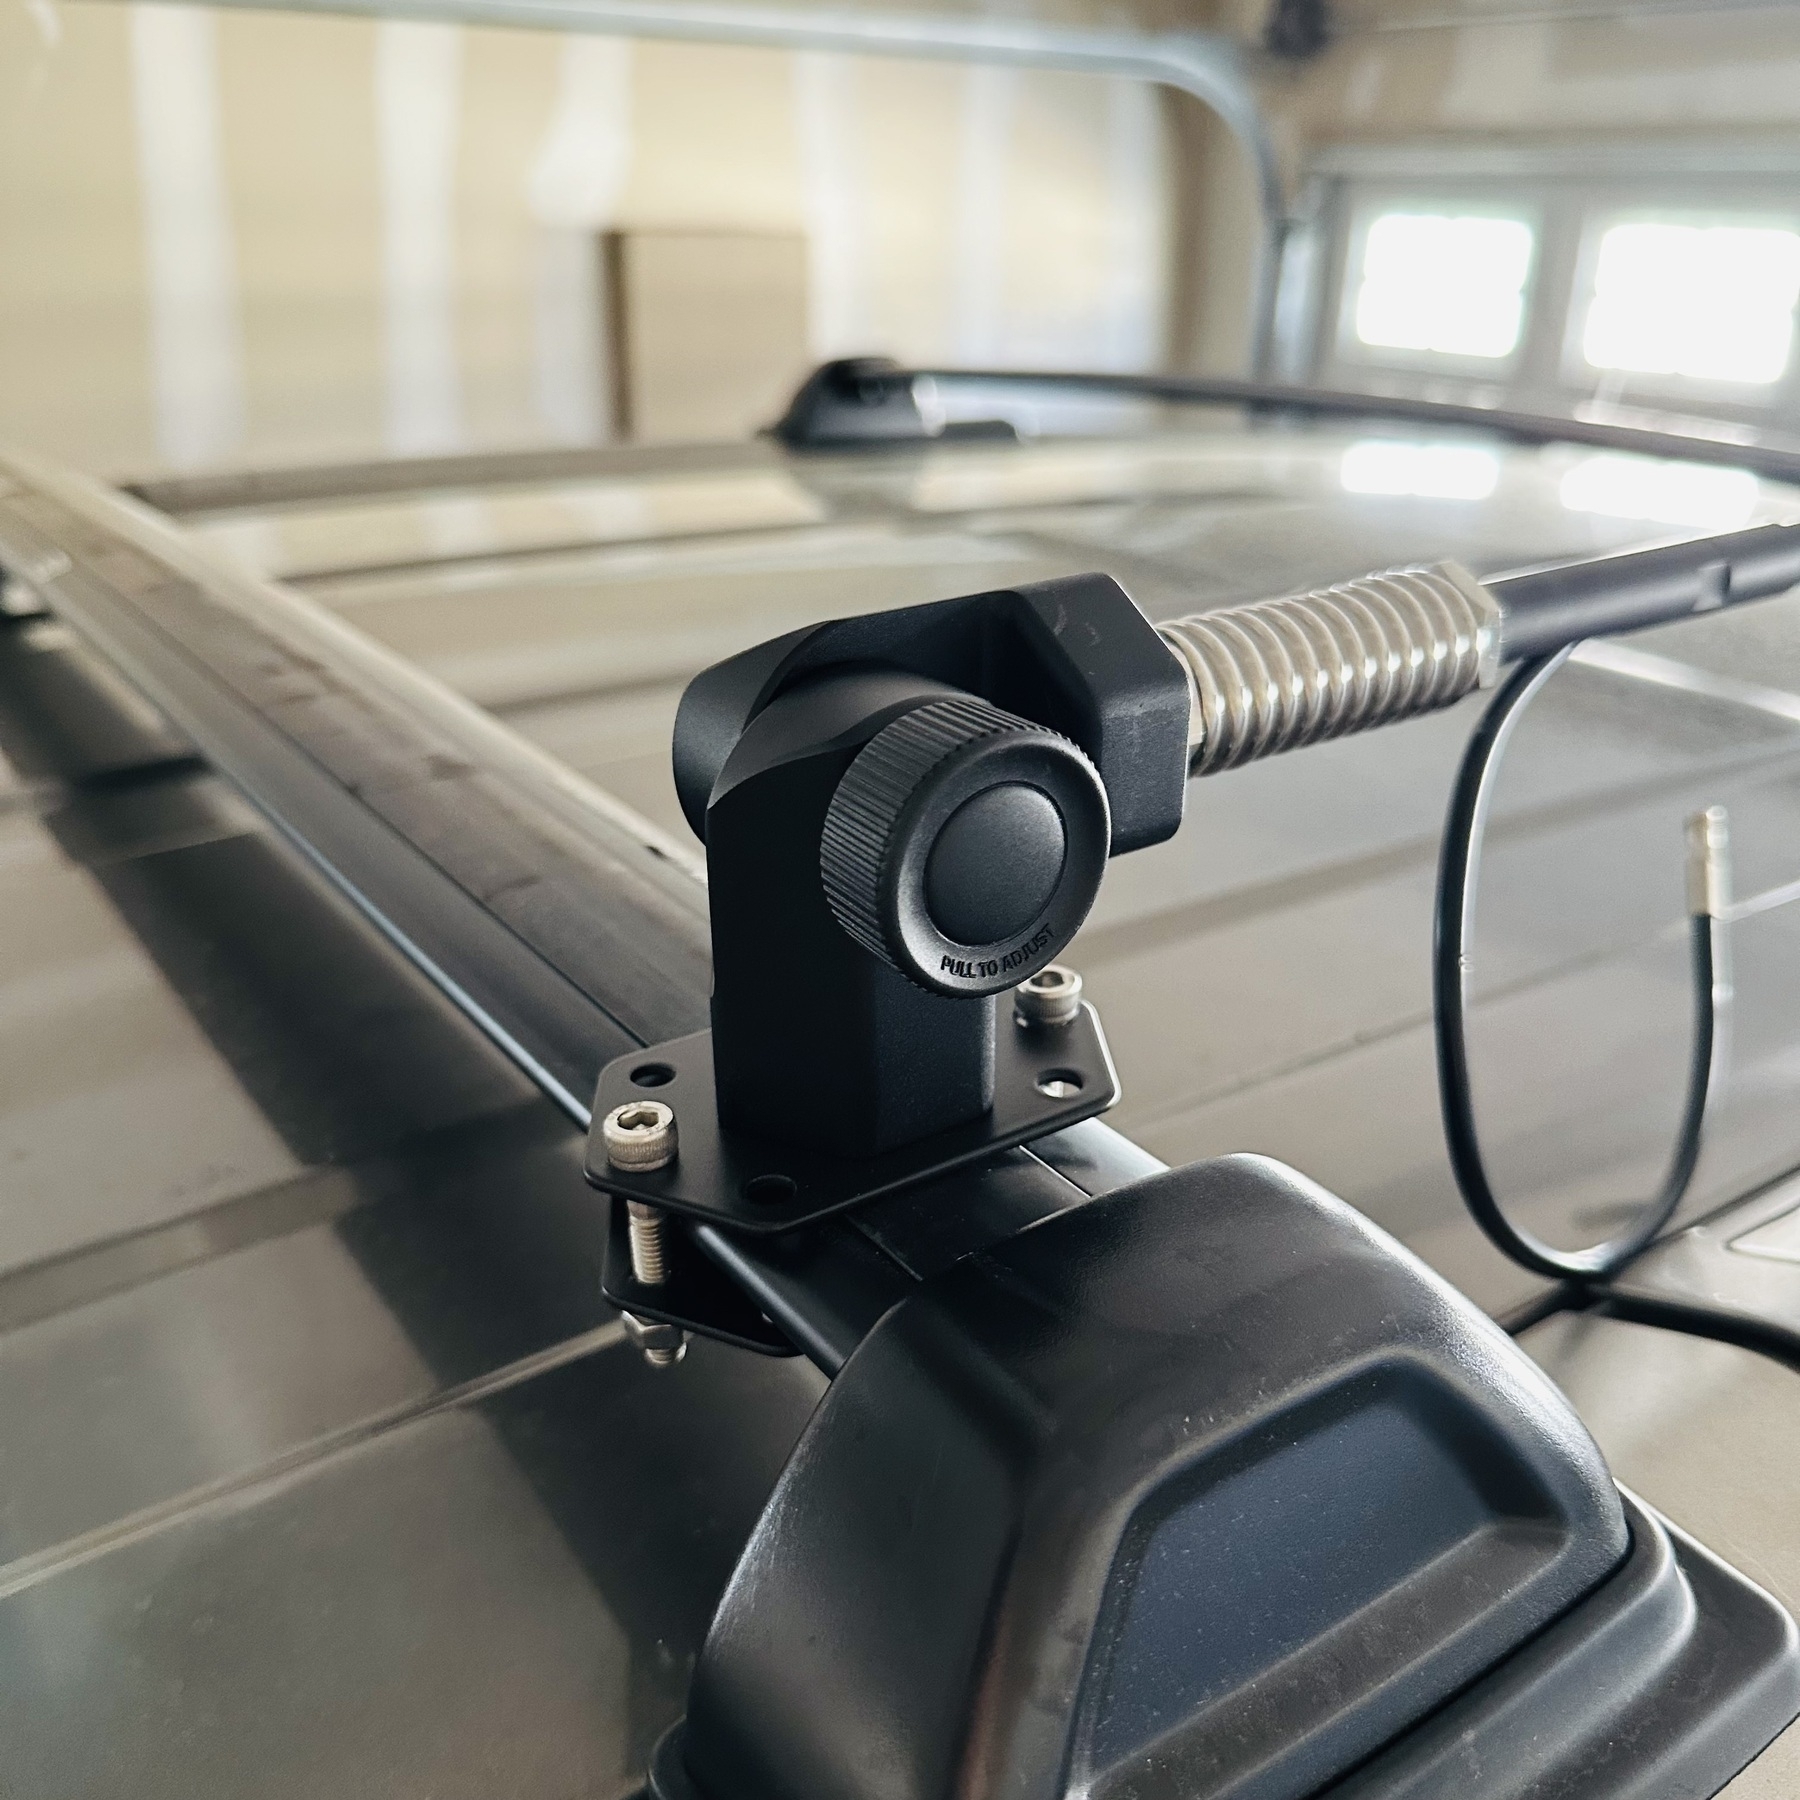
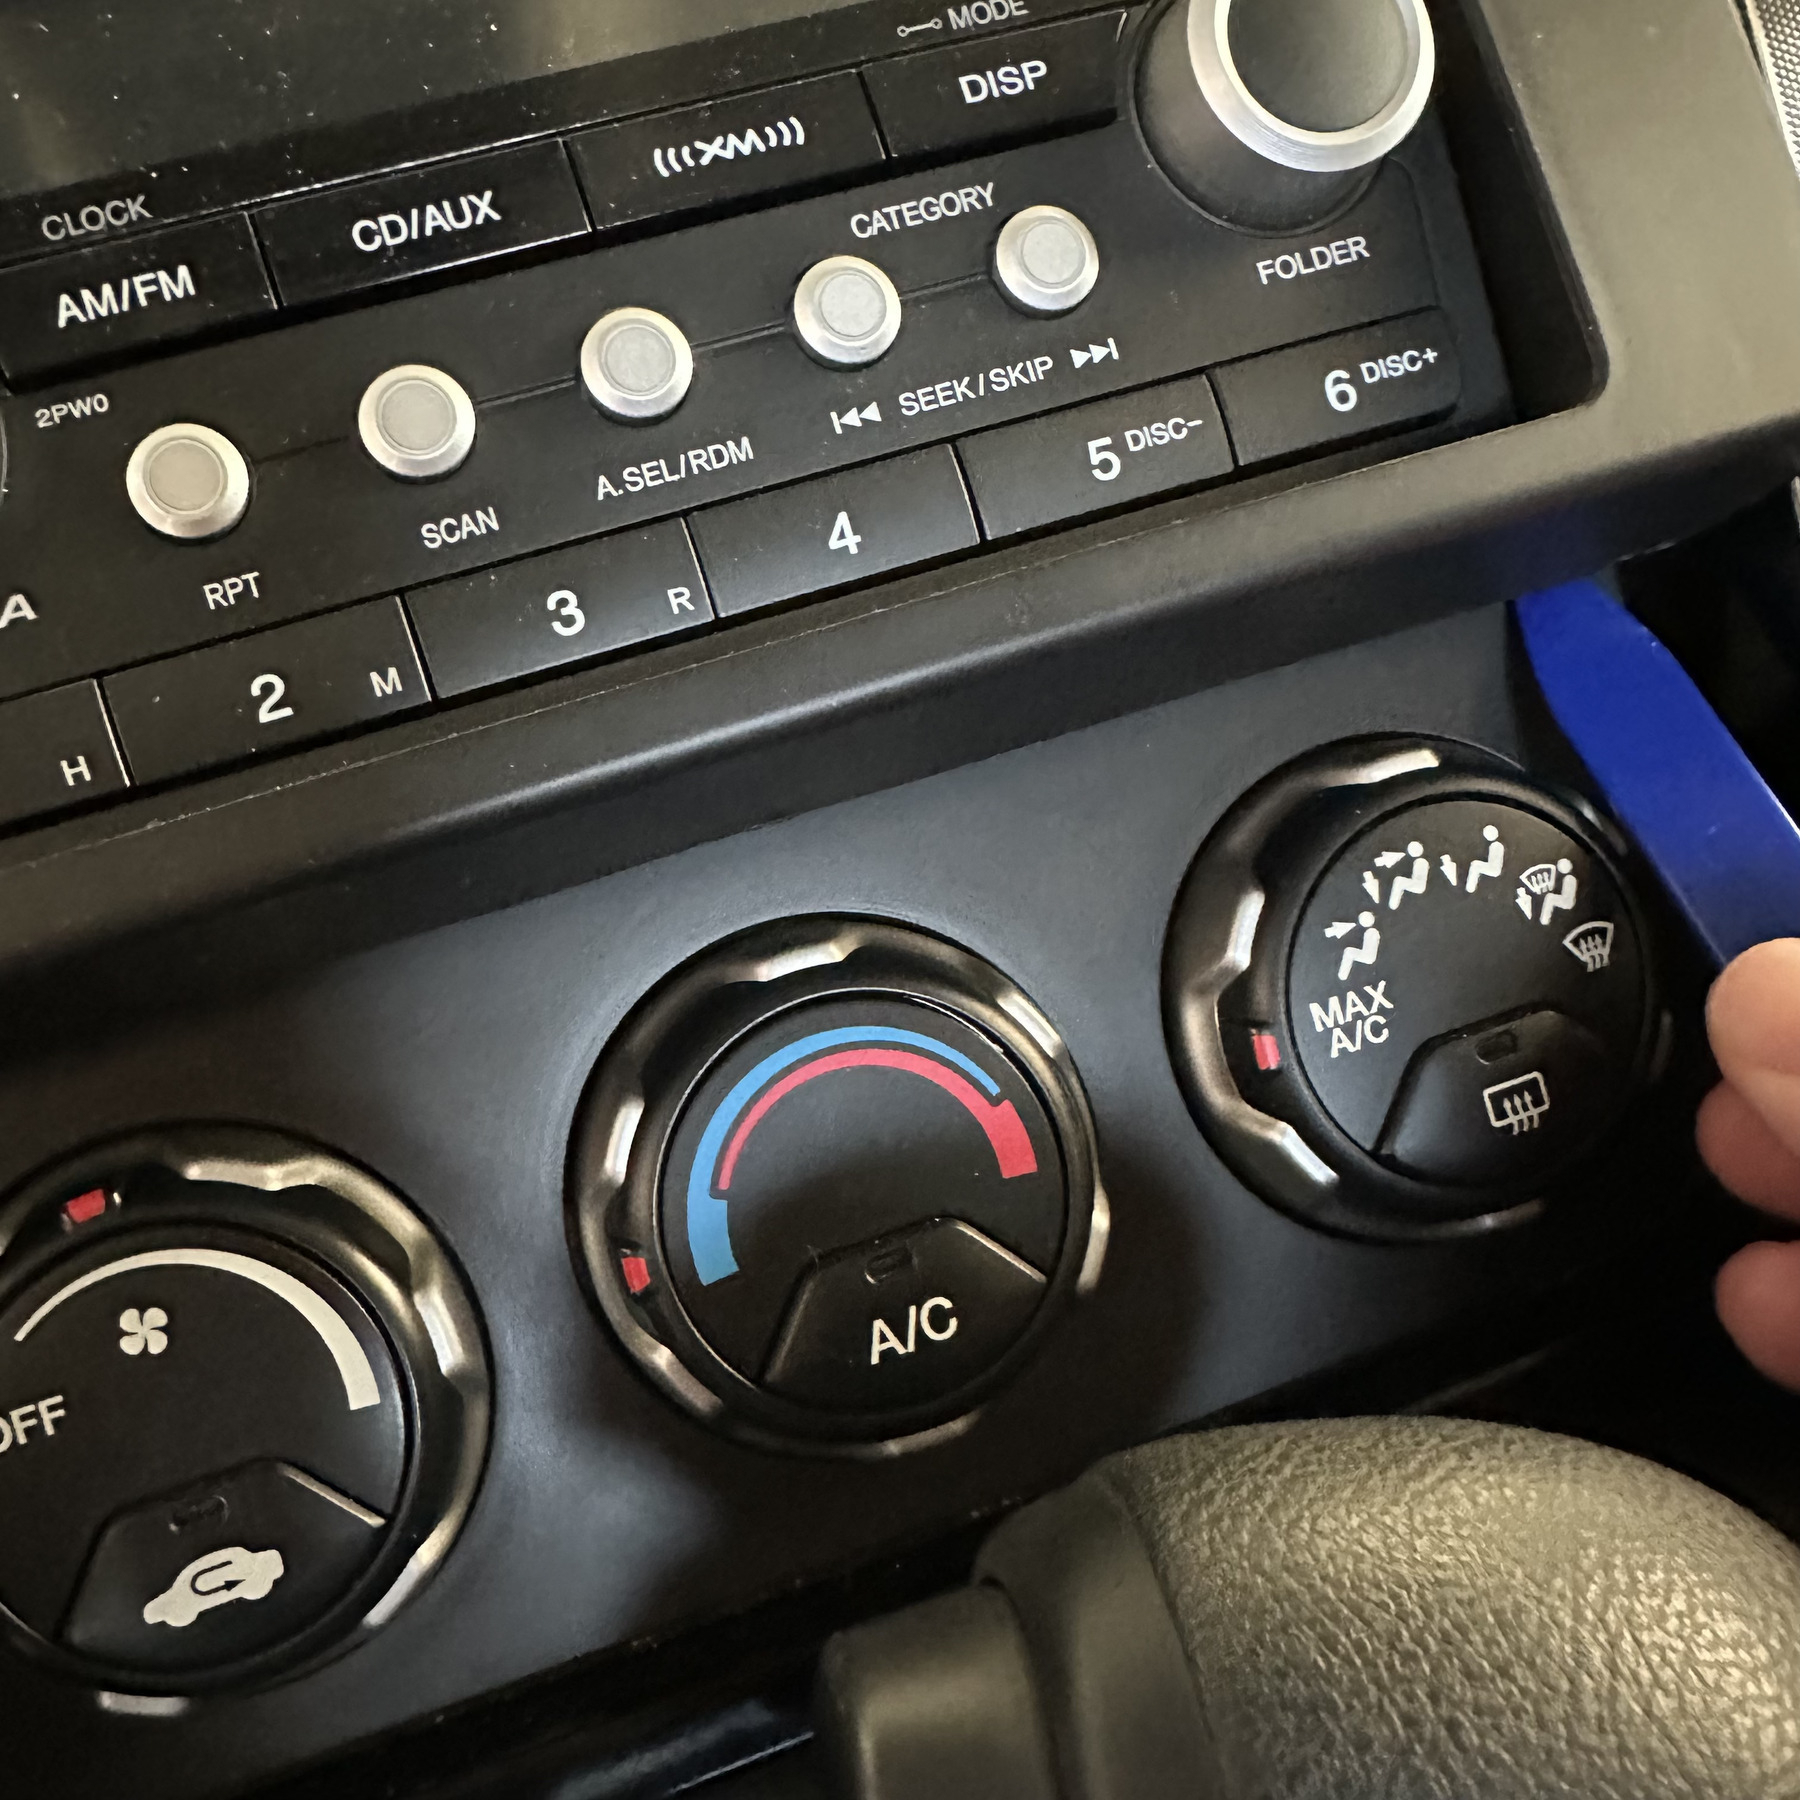
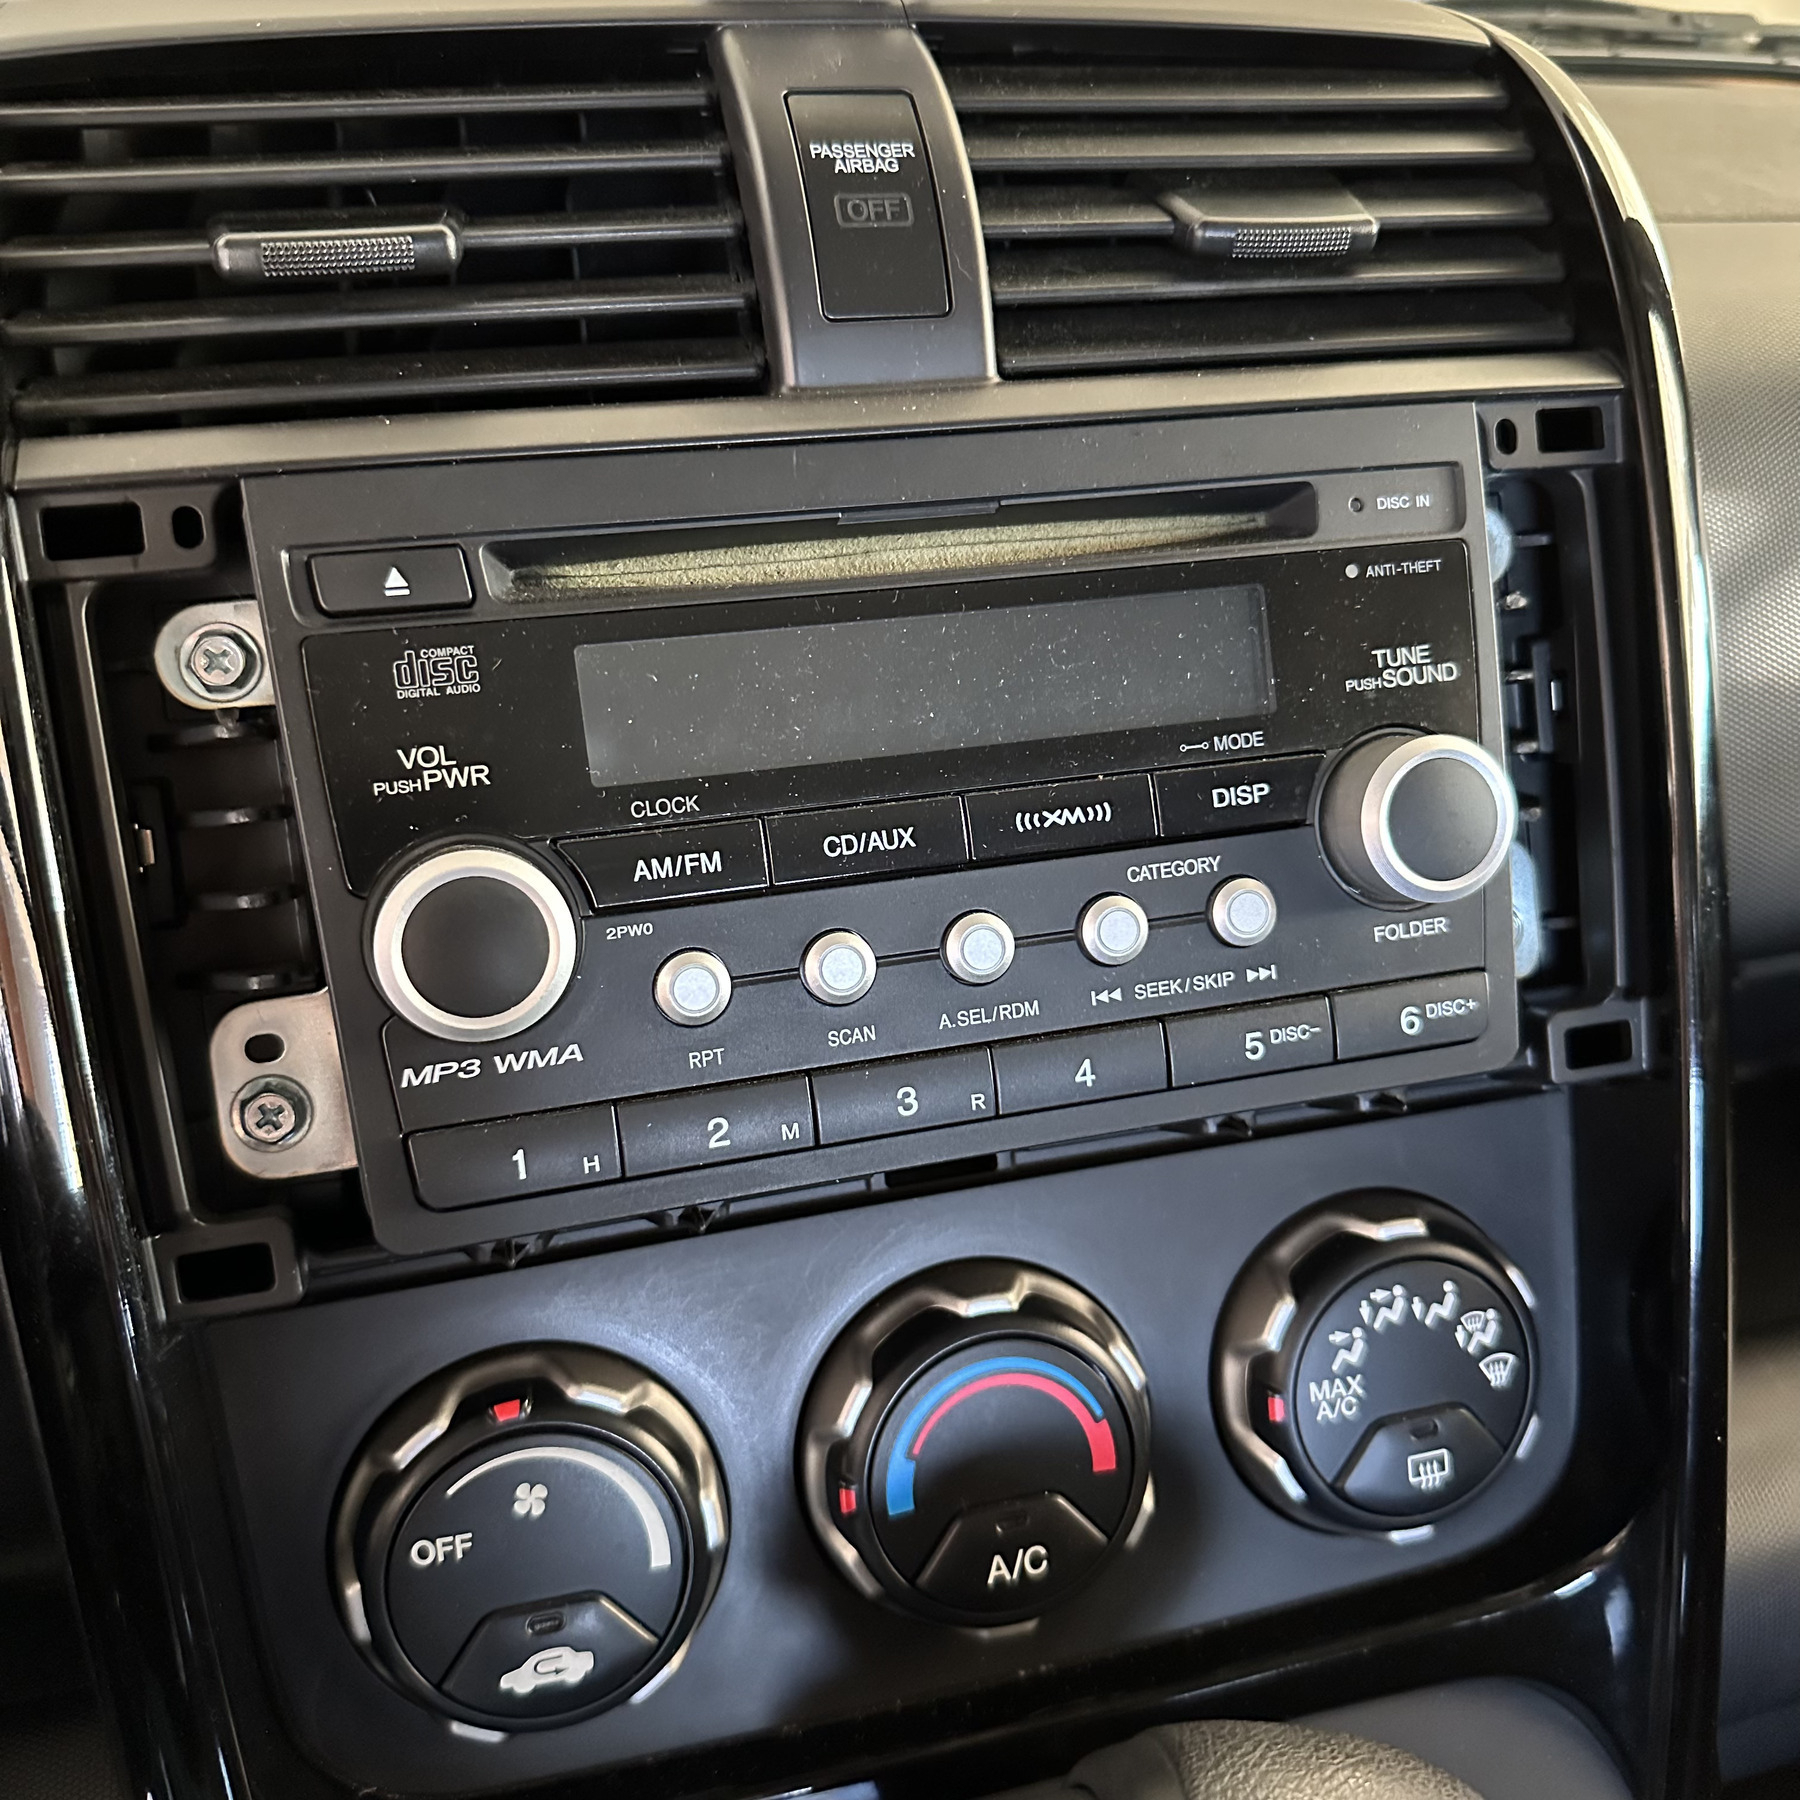
Here are some photos:

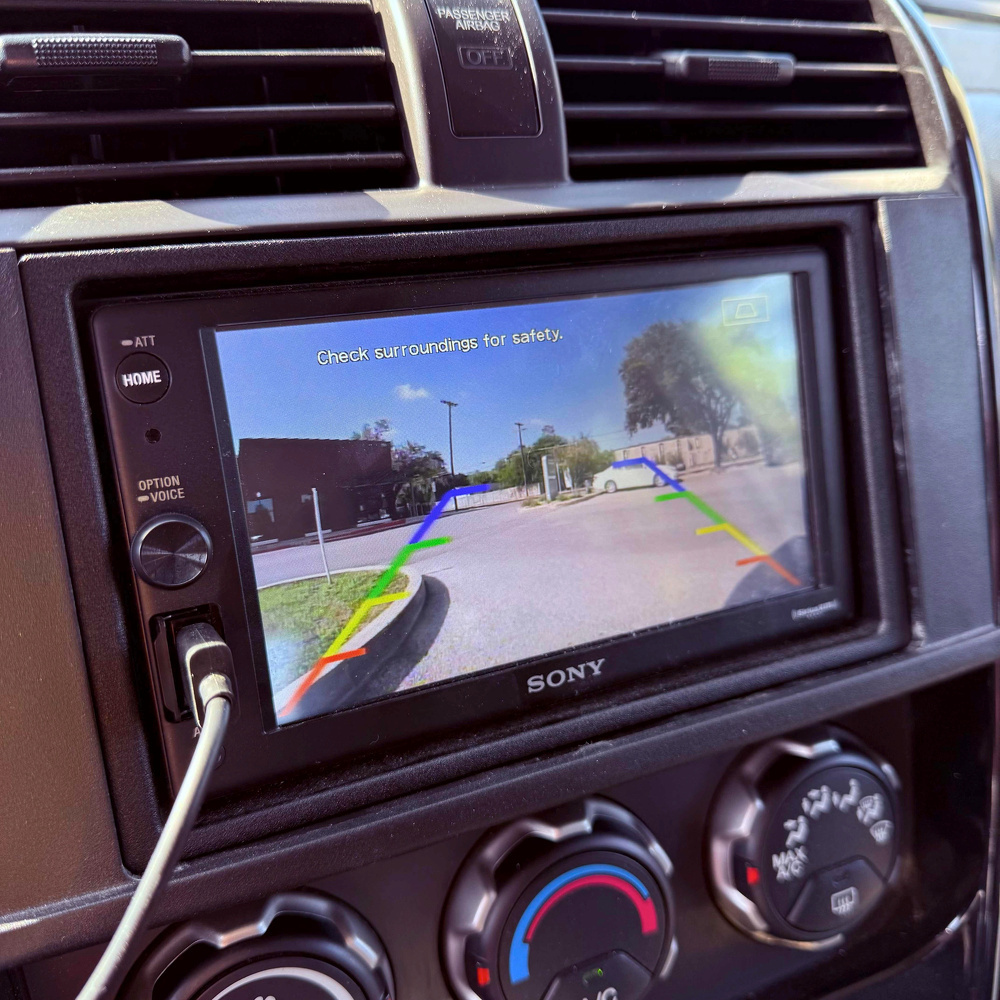
I was excited to see the video pop up for the first time. It’s another nice upgrade that brings this old car further into the modern era.